- 快召唤伙伴们来围观吧
- 微博 QQ QQ空间 贴吧
- 文档嵌入链接
- <iframe src="https://www.slidestalk.com/u70/open_cv_introduction?embed" frame border="0" width="640" height="360" scrolling="no" allowfullscreen="true">复制
- 微信扫一扫分享
OpenCV简介
展开查看详情
1 .OpenCV
2 .OpenCV
3 .OpenCV
4 .26/10/11
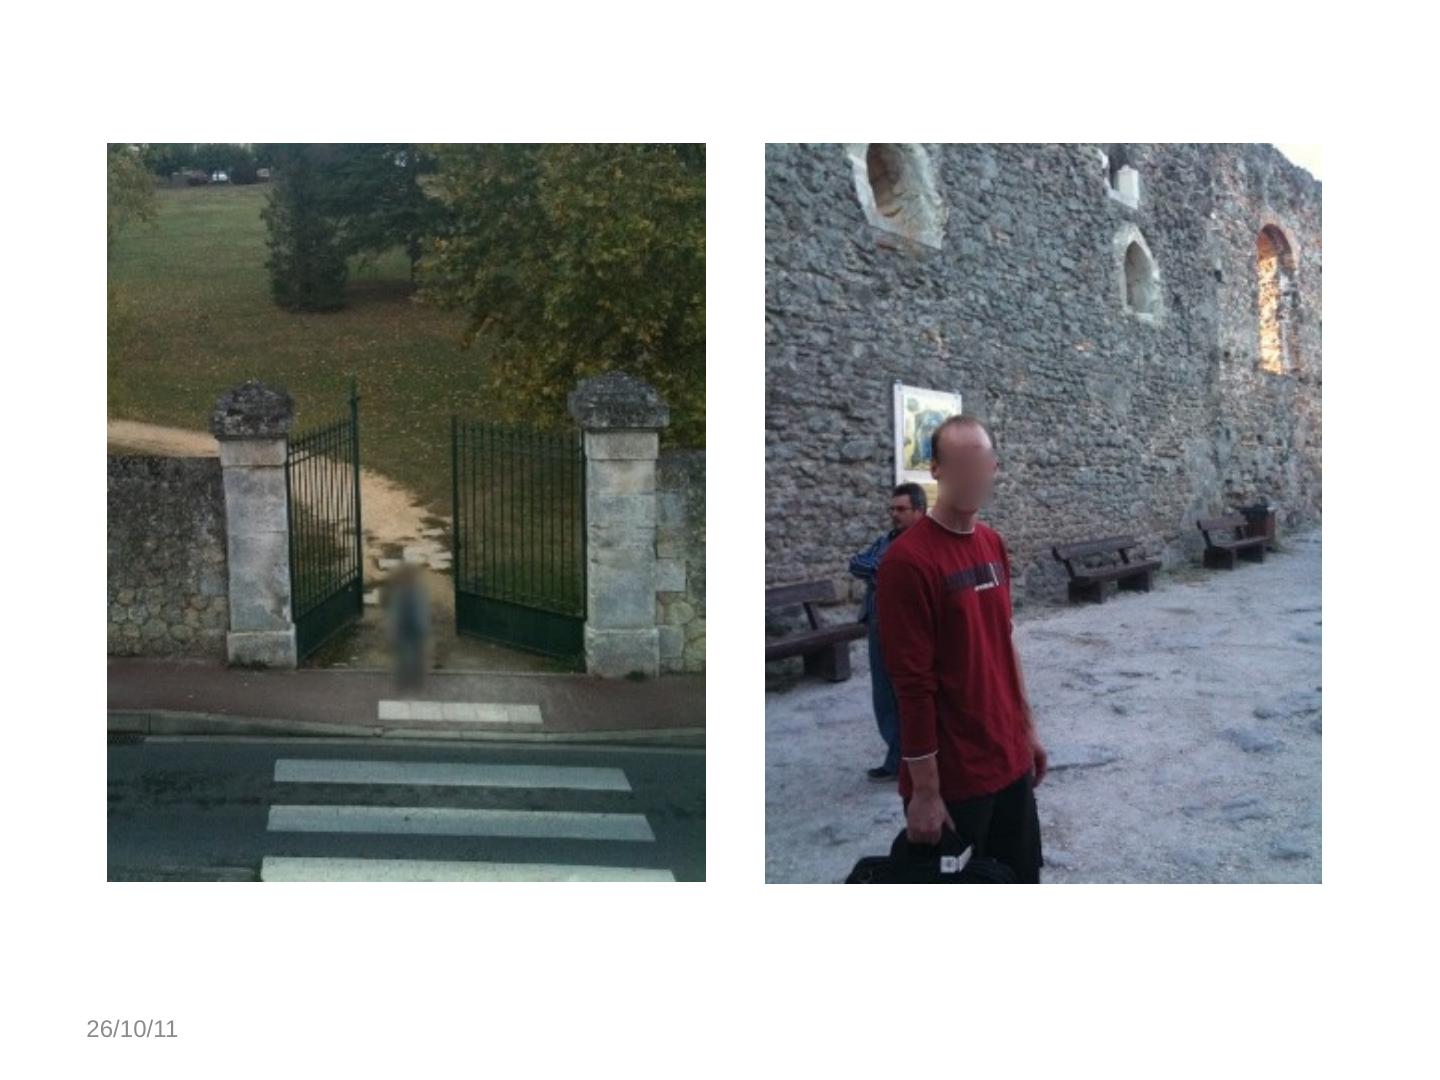
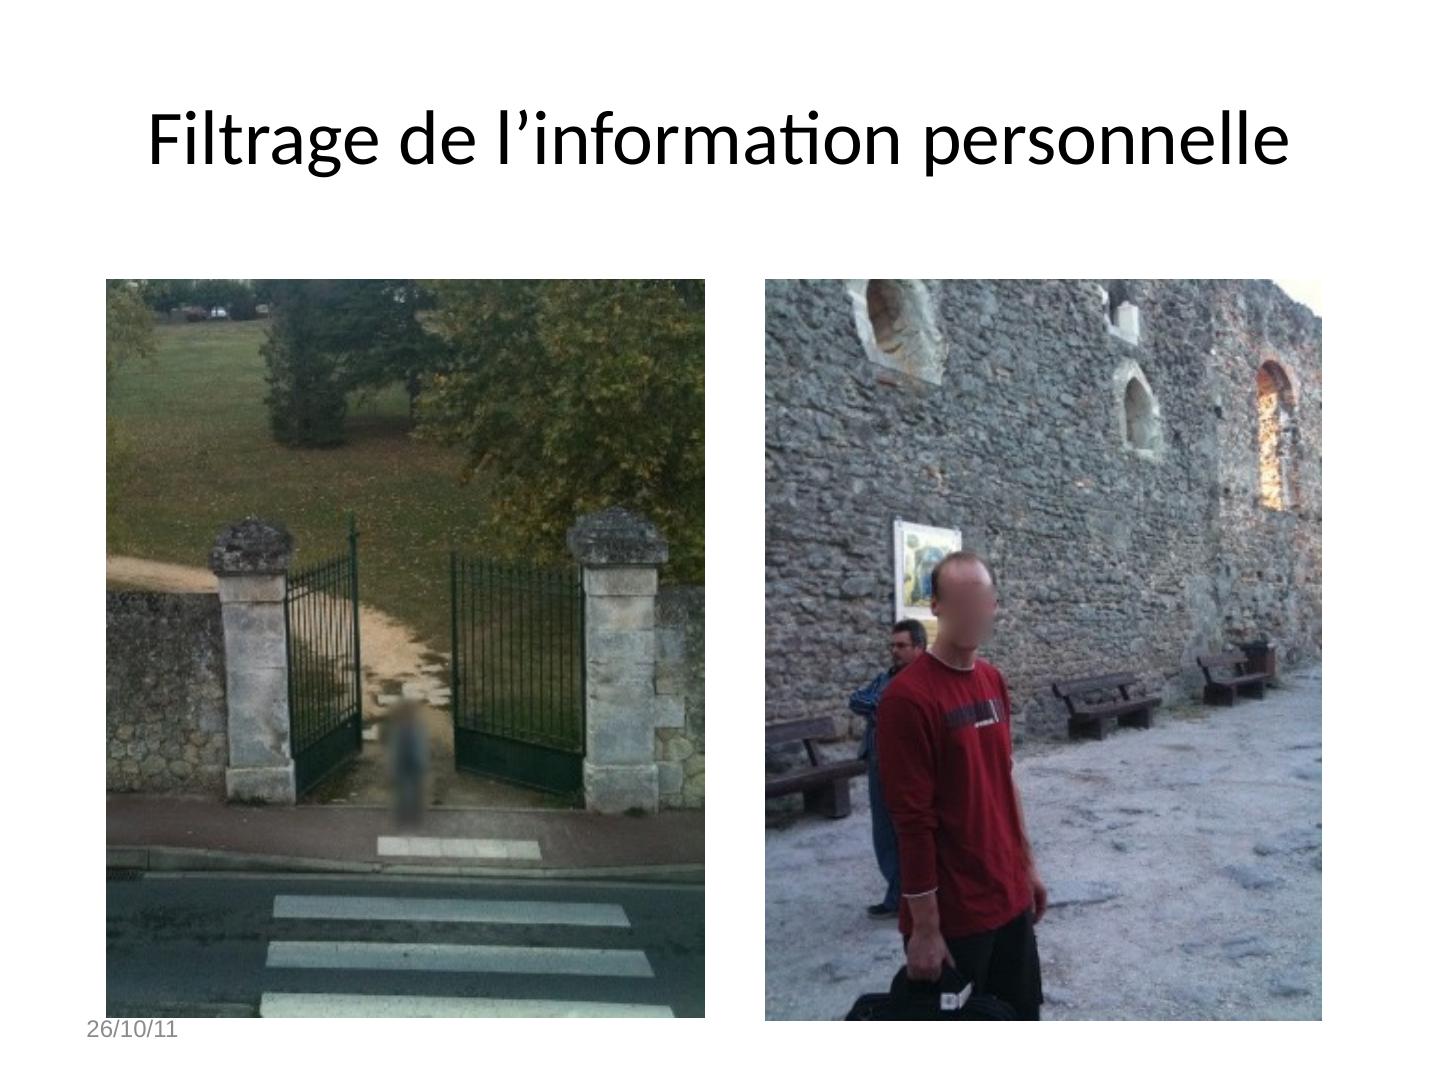
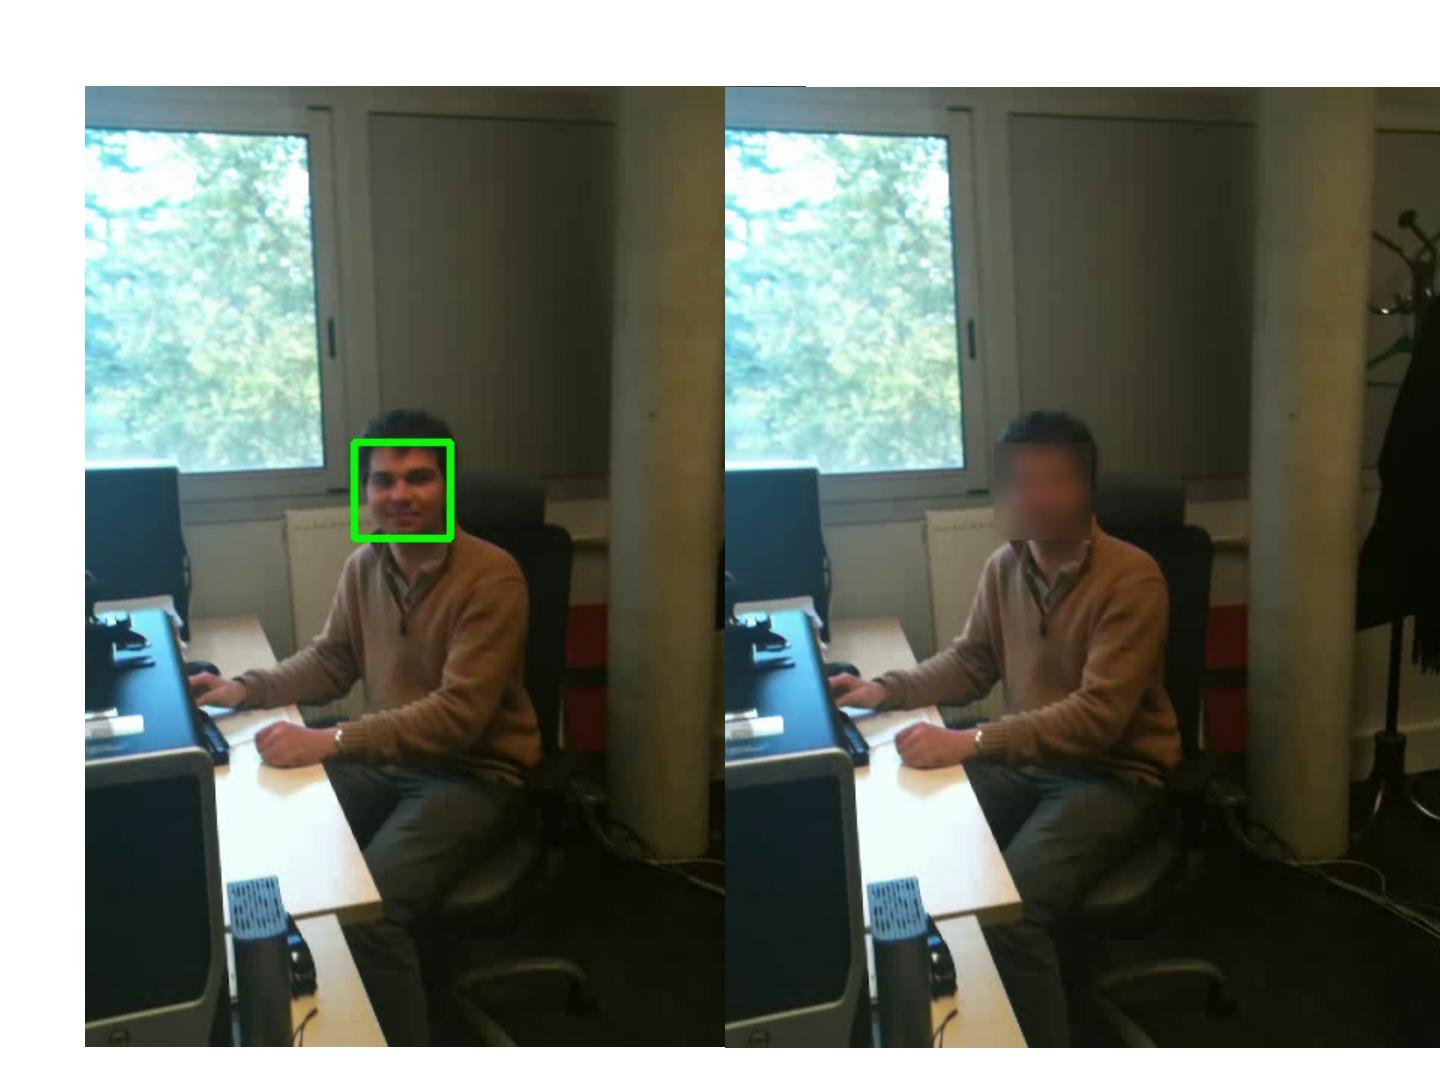
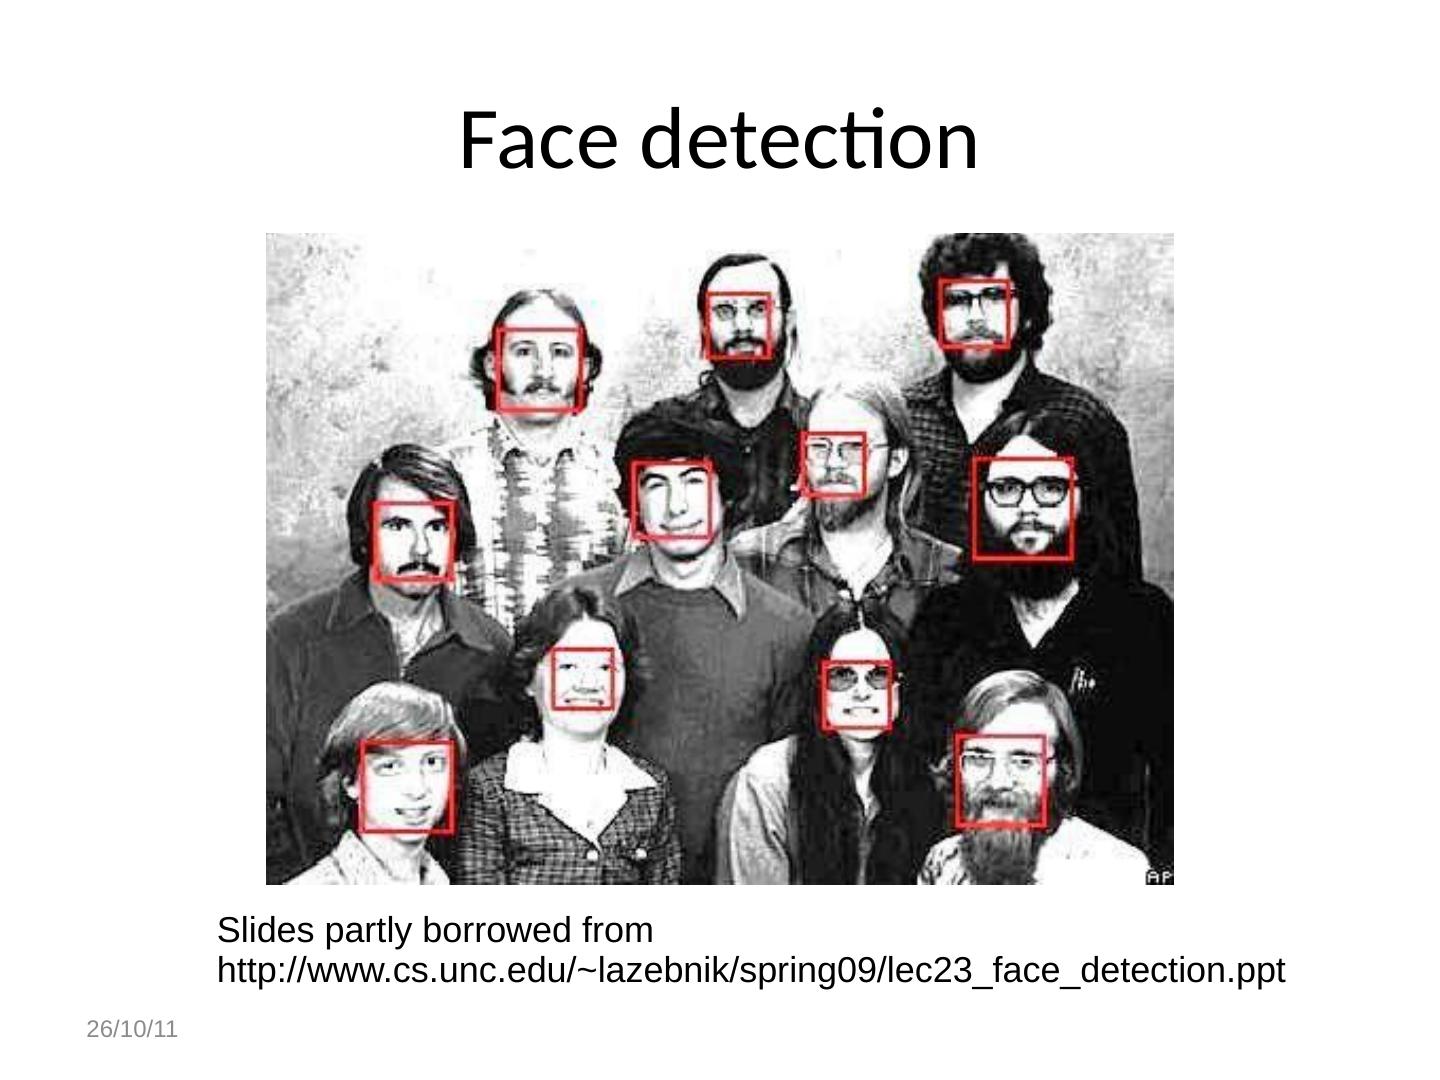
5 .Introduction Pourquoi? Téléphon eMobile : outil de communication multimédia : Prendre des photos bien focalisées, Envoyer les vidéos : « citizen reporteur » - BBC, BFMTV, sécurité : MotionCam, Filtrer l’information personnelle, Consulter les BD images
6 .Filtrage de l’information personnelle 26/10/11
7 .Structure de base de OpenCV OpenCV 2.x is a C++ library as opposed to OpenCV 1.x Significant changes in module structure since version 2.2 Modules: core, imgproc , video, calib3d, features2d, objdetect , highgui , gpu ...
8 .OpenCV core functionality All the OpenCV classes and functions are placed into the cv namespace core - compact module defining basic data structures and basic functions used by all other modules Basic image class cv::Mat 26/10/11
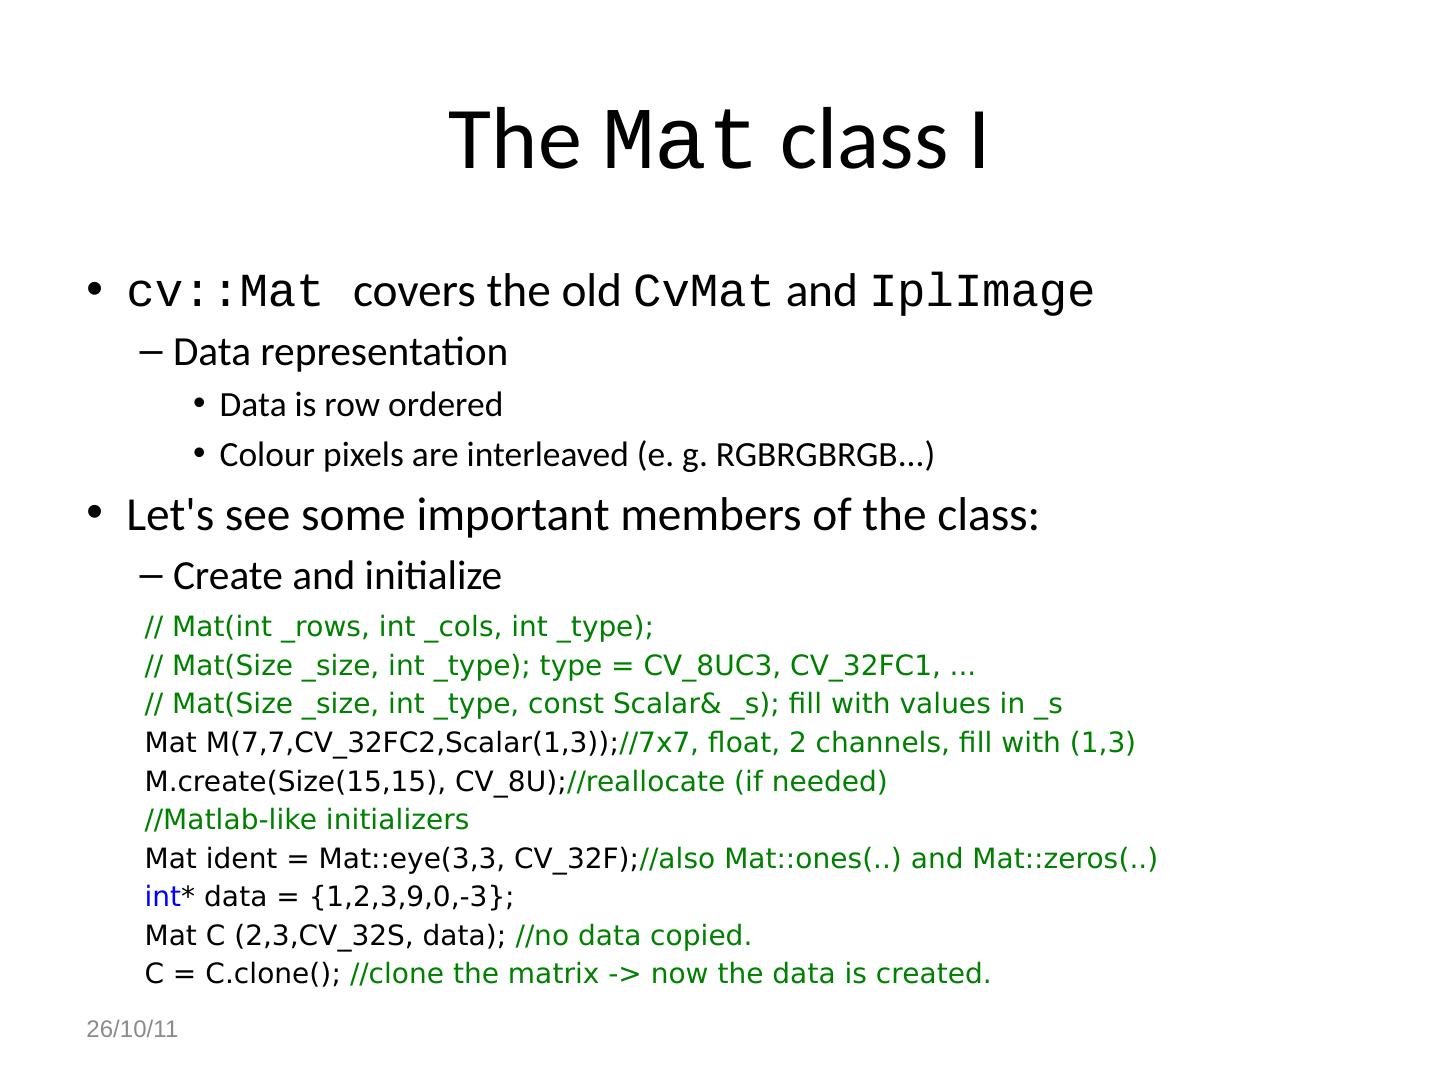
9 .cv::Mat memory management OpenCV handles all the memory automatically Memory is freed automatically when needed When a Mat instance is copied, no actual data is really copied To make a real copy, use Mat::clone 26/10/11
10 .cv::Mat memory management OpenCV handles all the memory automatically Memory is freed automatically when needed When a Mat instance is copied, no actual data is really copied To make a real copy, use Mat::clone 26/10/11
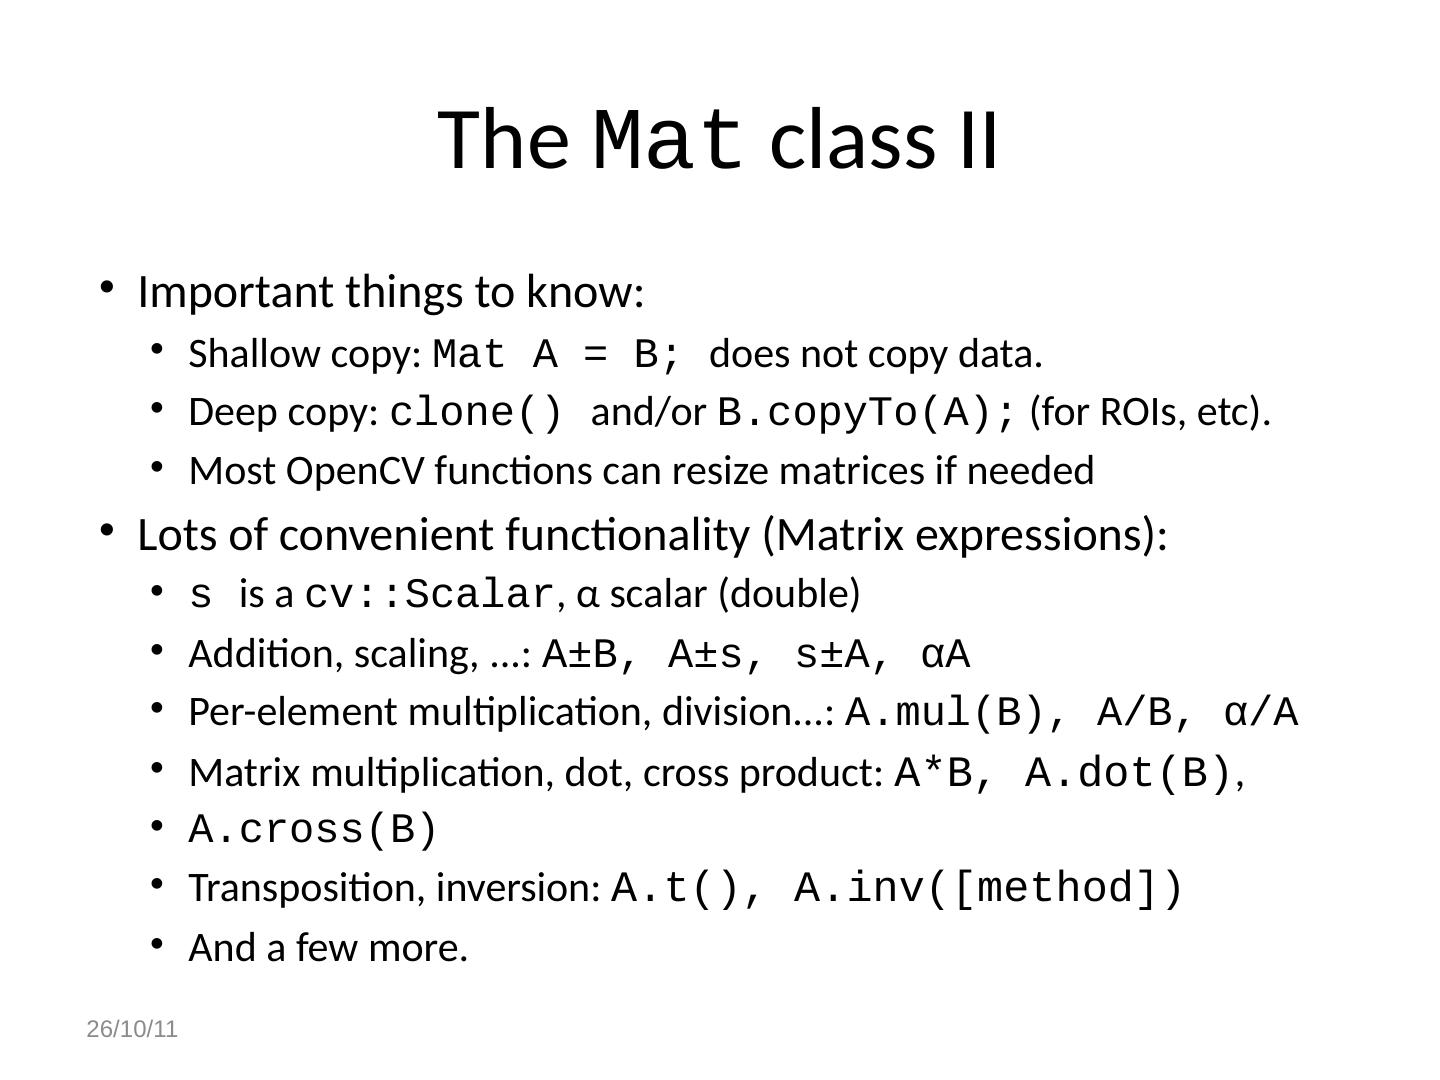
11 .The Mat class II Important things to know: Shallow copy: Mat A = B; does not copy data. Deep copy: clone() and/or B.copyTo (A); (for ROIs, etc ). Most OpenCV functions can resize matrices if needed Lots of convenient functionality (Matrix expressions): s is a cv::Scalar , α scalar (double) Addition, scaling, ...: A±B, A±s, s±A , αA Per-element multiplication, division...: A.mul (B), A/B, α/A Matrix multiplication, dot, cross product: A*B, A.dot(B) , A.cross (B) Transposition, inversion: A.t(), A.inv ([method]) And a few more. 26/10/11
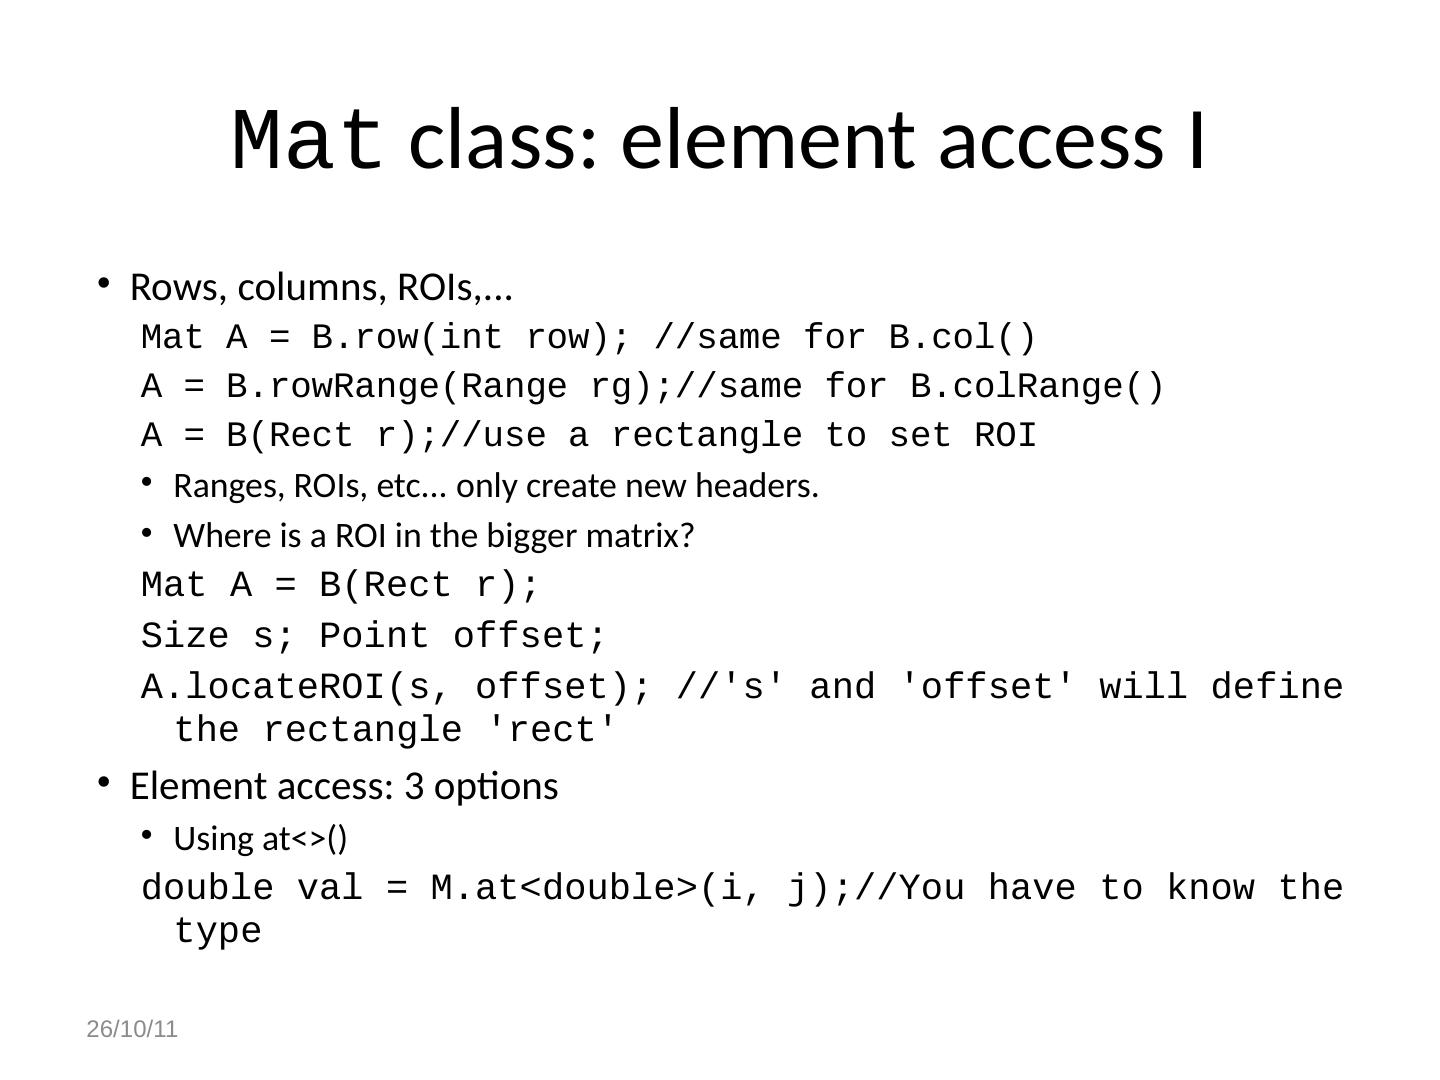
12 .Mat class: element access I Rows, columns, ROIs,... Mat A = B.row ( int row); //same for B.col () A = B.rowRange (Range rg );//same for B.colRange () A = B( Rect r);//use a rectangle to set ROI Ranges, ROIs, etc... only create new headers. Where is a ROI in the bigger matrix? Mat A = B( Rect r); Size s; Point offset; A.locateROI (s, offset); //s and offset will define the rectangle rect Element access: 3 options Using at<>() double val = M.at<double>( i , j );//You have to know the type 26/10/11
13 .Mat class: element access I Rows, columns, ROIs,... Mat A = B.row ( int row); //same for B.col () A = B.rowRange (Range rg );//same for B.colRange () A = B( Rect r);//use a rectangle to set ROI Ranges, ROIs, etc... only create new headers. Where is a ROI in the bigger matrix? Mat A = B( Rect r); Size s; Point offset; A.locateROI (s, offset); //s and offset will define the rectangle rect Element access: 3 options Using at<>() double val = M.at<double>( i , j );//You have to know the type 26/10/11
14 .The Mat_ class I A thin wrap around the Mat class. Mat ↔ Mat_ can be converted freely With care: no data conversion is done Type specification is different Useful if you do lots of element access. Same internal code, but shorted to write Mat_<double> M(20,20); //a double matrix 20x20 double k = M(2,18); //no data specification needed For multichannel (colour images), use cv:: Vec Mat_<Vec3f> M3f(20,20); //a 20x20 3 channel float matrix 26/10/11
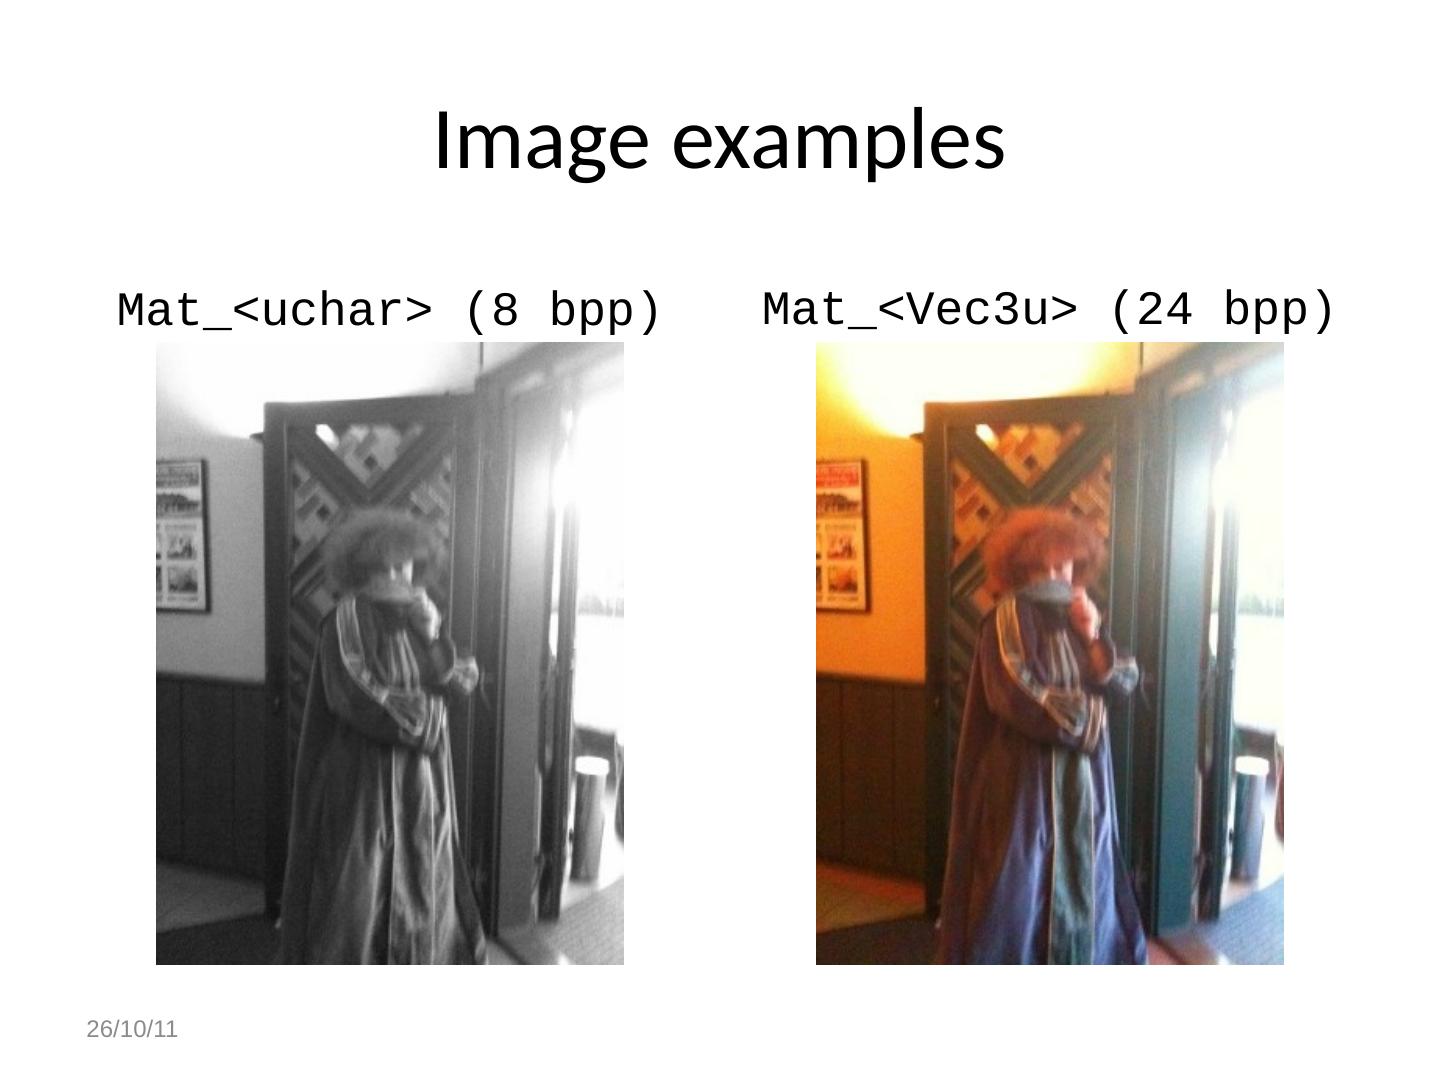
15 .Image examples Mat_< uchar > (8 bpp ) Mat_<Vec3u> (24 bpp ) 26/10/11
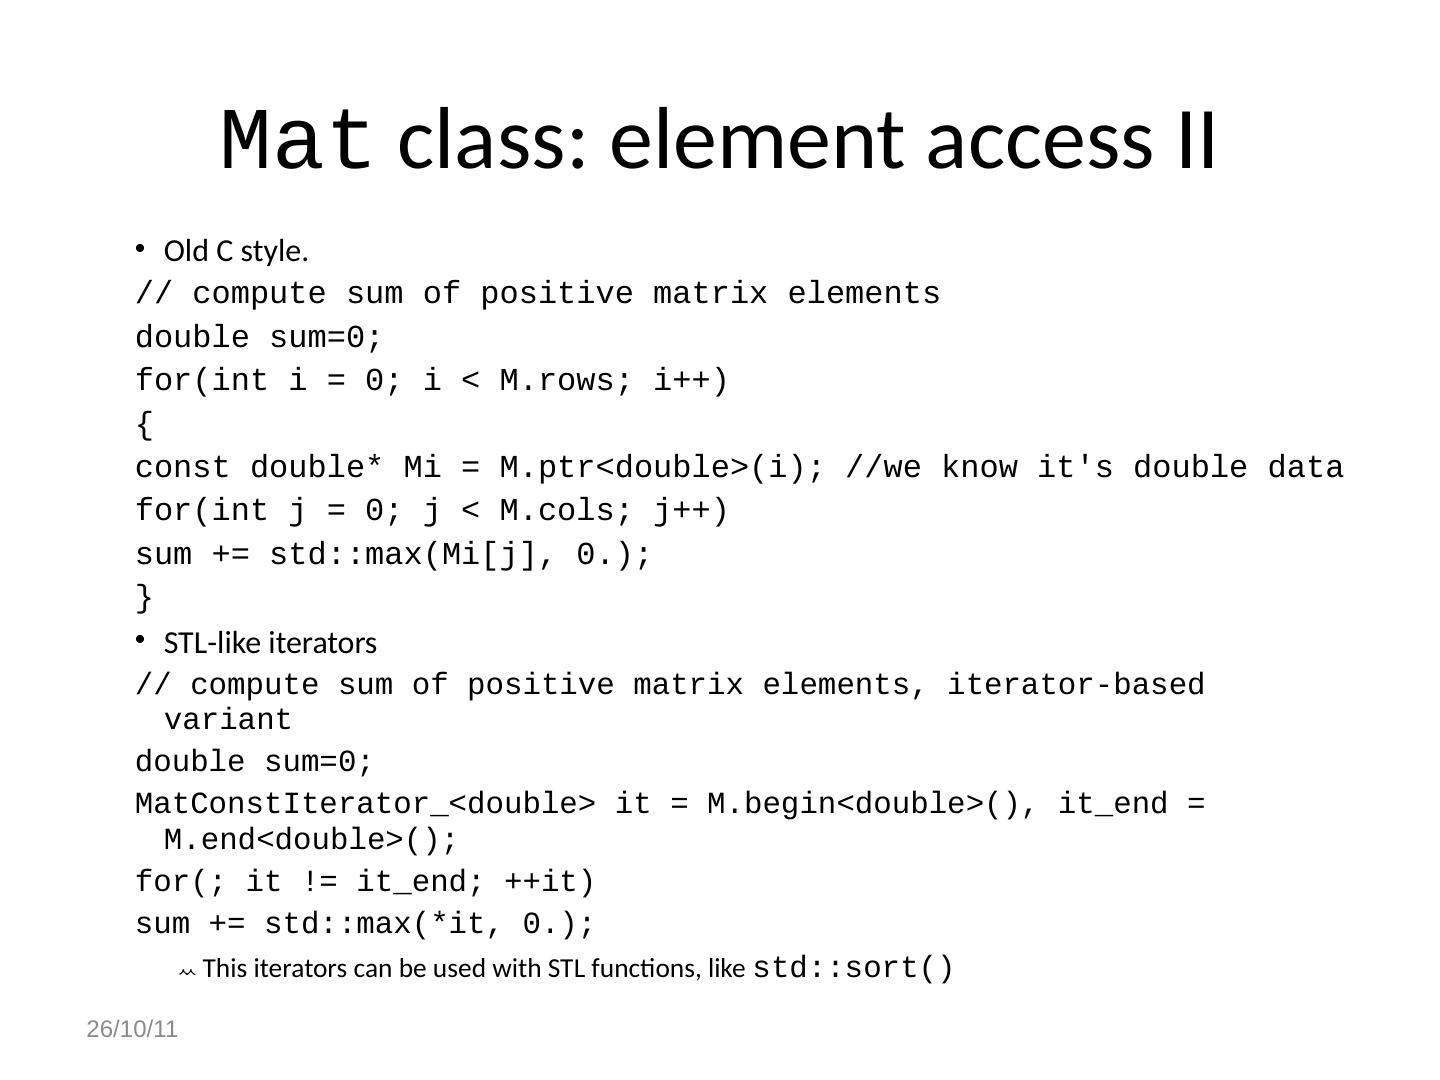
16 .Manipulation with images using Mat class Reading and writing images is easy Mat imread ( const string& filename, int flags=1); //flags =0 -> always grayscale //flags >0 -> always color //flags <0 -> read image as-is bool imwrite ( const string& filename, const Mat& img , const vector< int >& params =vector< int >()); // params set compressions values. defaults are fine . example: Mat img = imread ("filename.jpg", 1); imwrite ("file.png", myImage ); 26/10/11
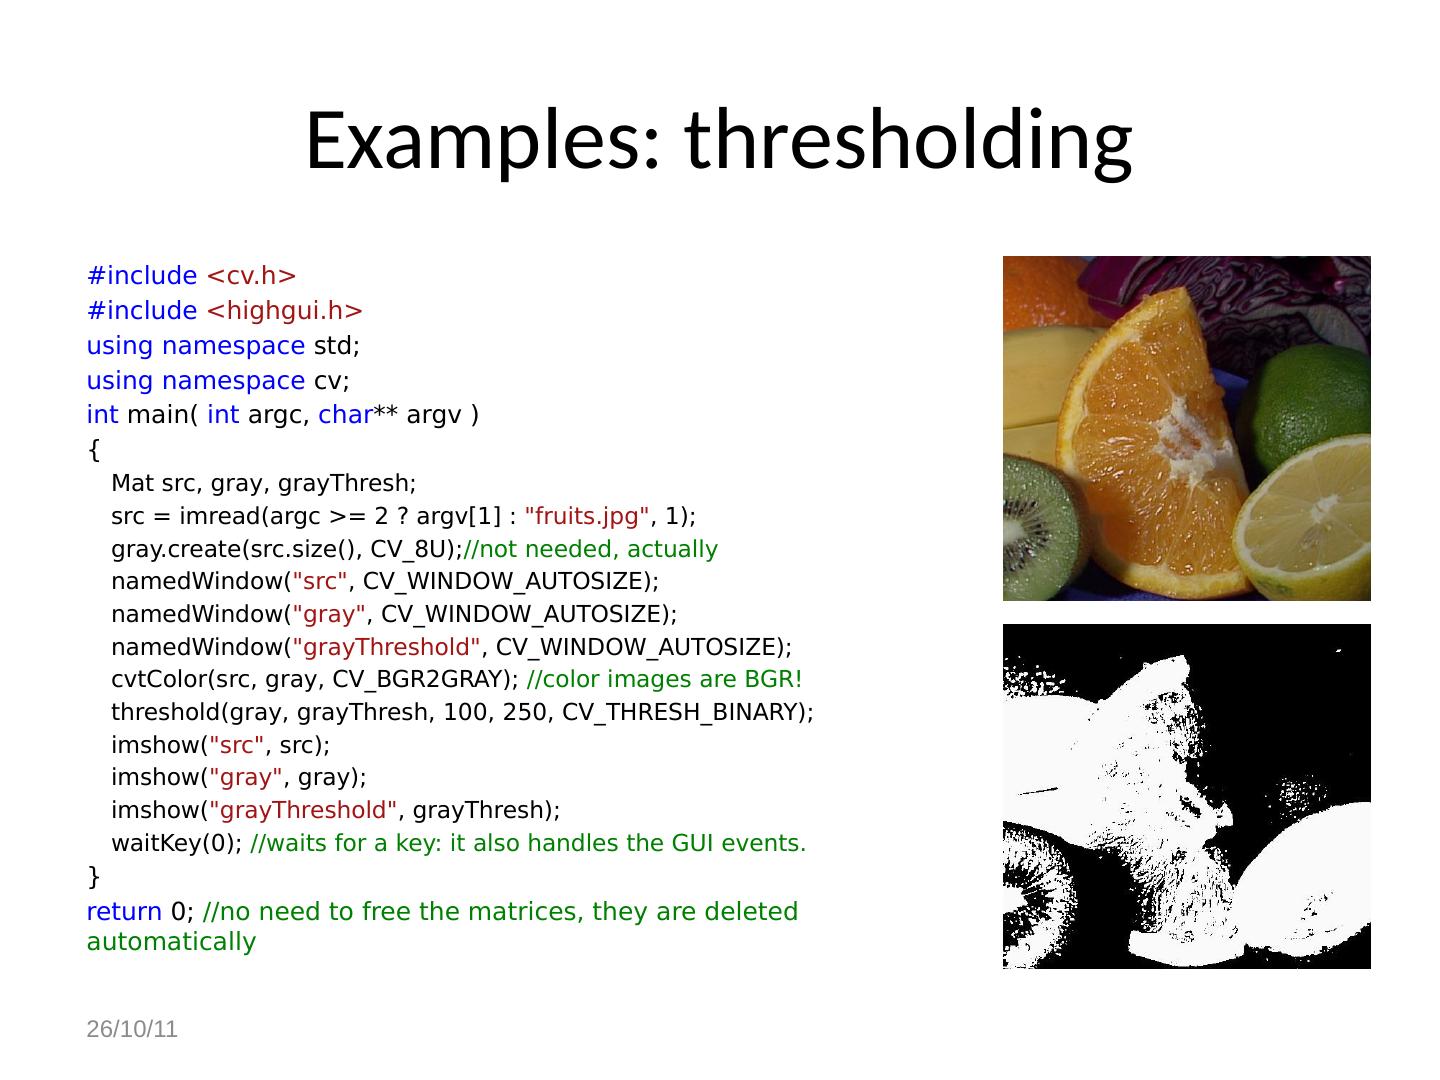
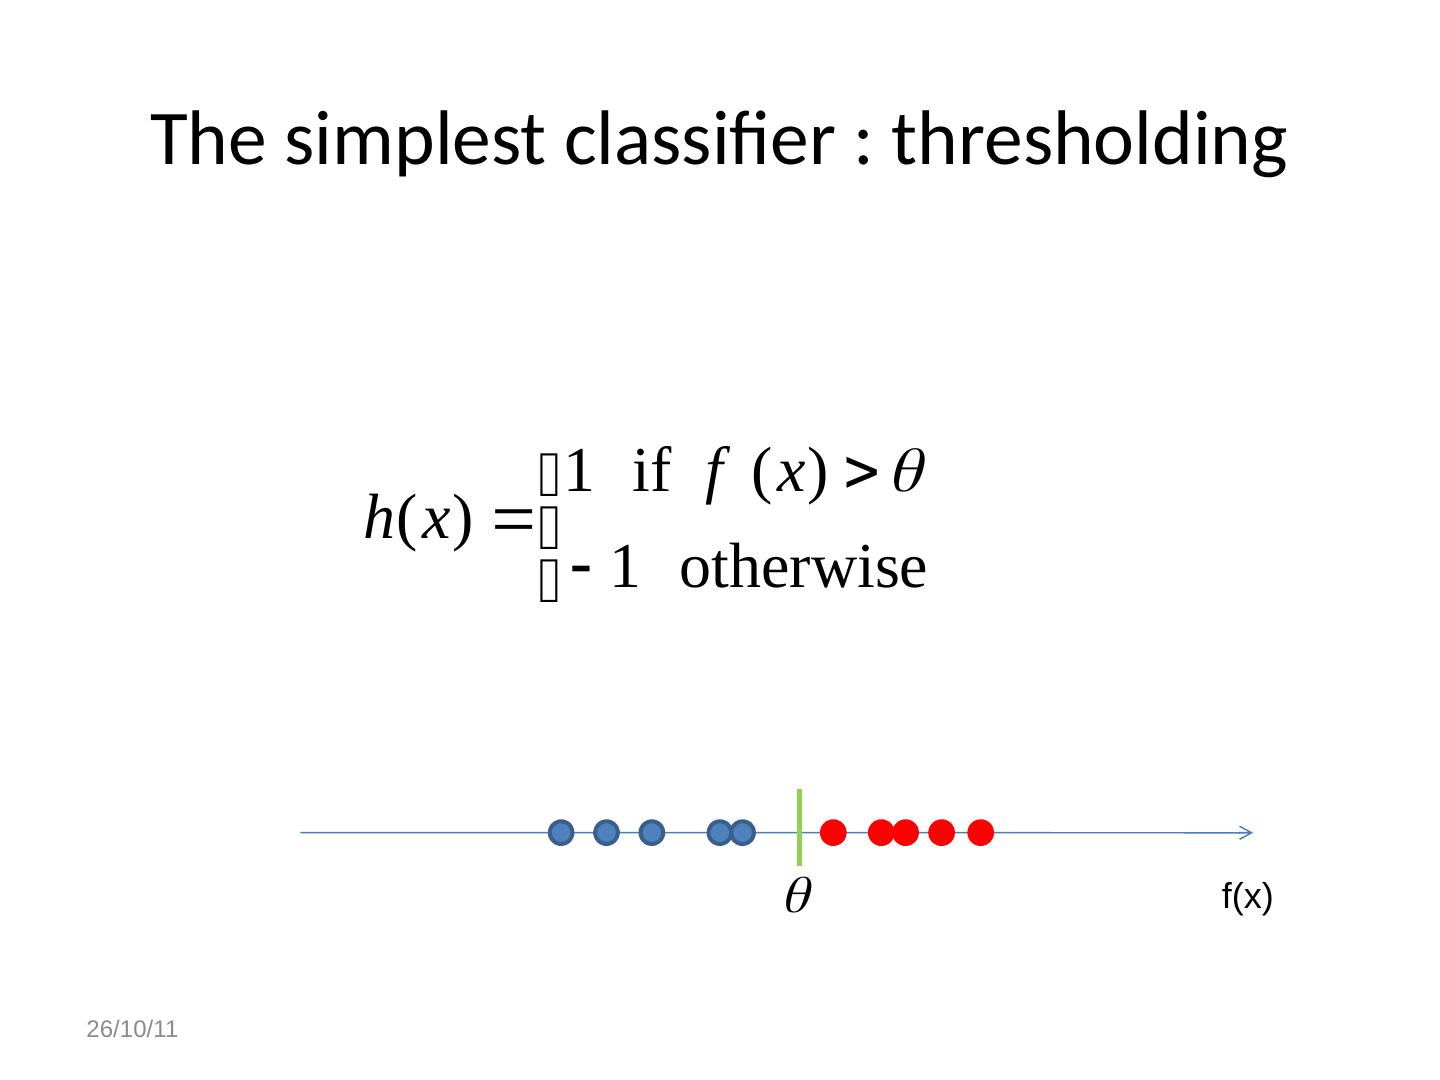
17 .Examples: thresholding #include < cv.h > #include < highgui.h > using namespace std ; using namespace cv; int main( int argc , char ** argv ) { Mat src , gray, grayThresh ; src = imread ( argc >= 2 ? argv [1] : "fruits.jpg" , 1); gray.create ( src.size (), CV_8U); //not needed, actually namedWindow ( " src " , CV_WINDOW_AUTOSIZE); namedWindow ( "gray" , CV_WINDOW_AUTOSIZE); namedWindow ( " grayThreshold " , CV_WINDOW_AUTOSIZE); cvtColor ( src , gray, CV_BGR2GRAY); //color images are BGR! threshold(gray, grayThresh , 100, 250, CV_THRESH_BINARY); imshow ( " src " , src ); imshow ( "gray" , gray); imshow ( " grayThreshold " , grayThresh ); waitKey (0); //waits for a key: it also handles the GUI events. } return 0; //no need to free the matrices, they are deleted automatically 26/10/11
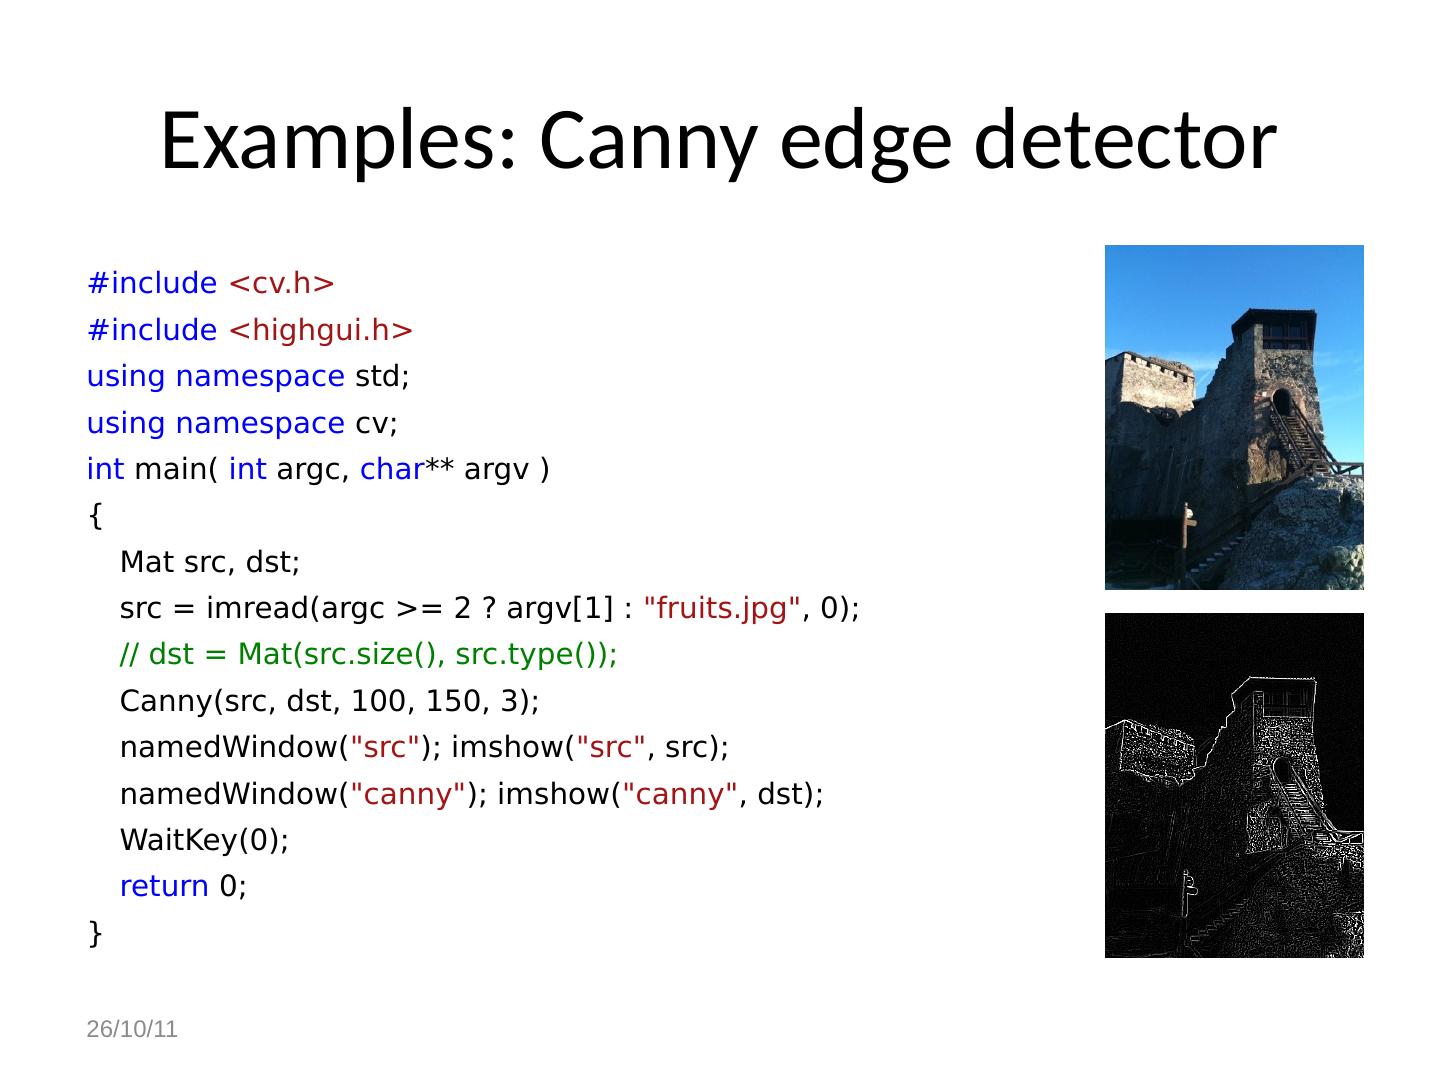
18 .Examples: Canny edge detector #include < cv.h > #include < highgui.h > using namespace std ; using namespace cv; int main( int argc , char ** argv ) { Mat src , dst ; src = imread ( argc >= 2 ? argv [1] : "fruits.jpg" , 0); // dst = Mat( src.size (), src.type ()); Canny( src , dst , 100, 150, 3); namedWindow ( " src " ); imshow ( " src " , src ); namedWindow ( "canny" ); imshow ( "canny" , dst ); WaitKey (0); return 0; } 26/10/11
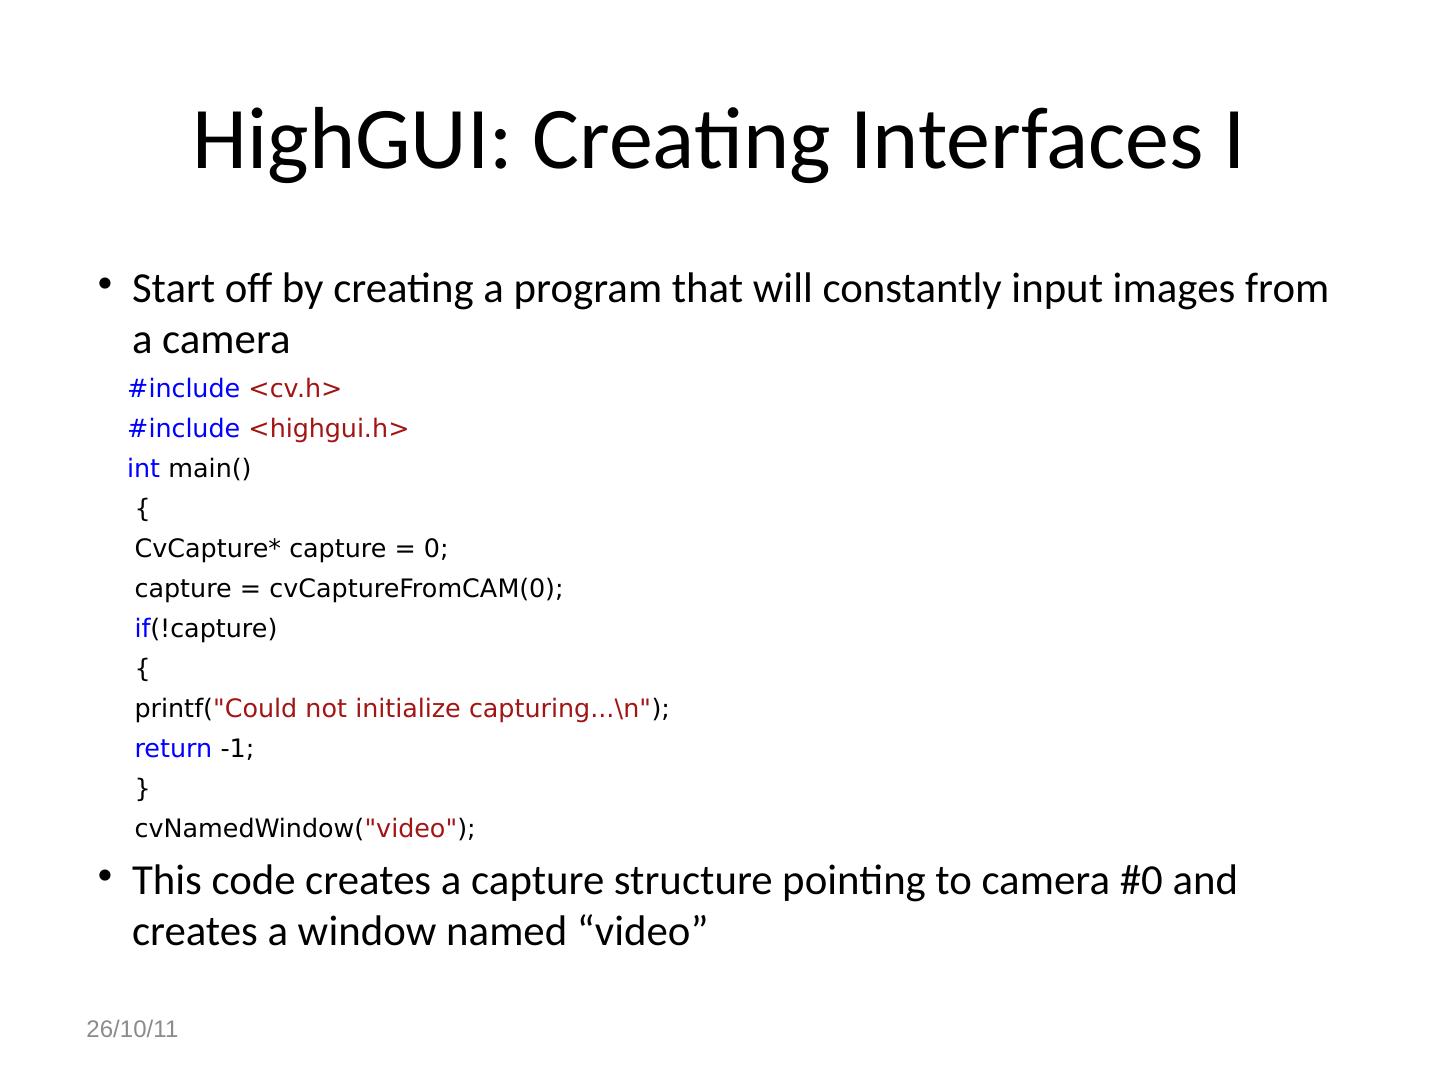
19 .HighGUI : Creating Interfaces I Start off by creating a program that will constantly input images from a camera #include < cv.h > #include < highgui.h > int main() { CvCapture * capture = 0; capture = cvCaptureFromCAM (0); if (!capture) { printf ( "Could not initialize capturing...
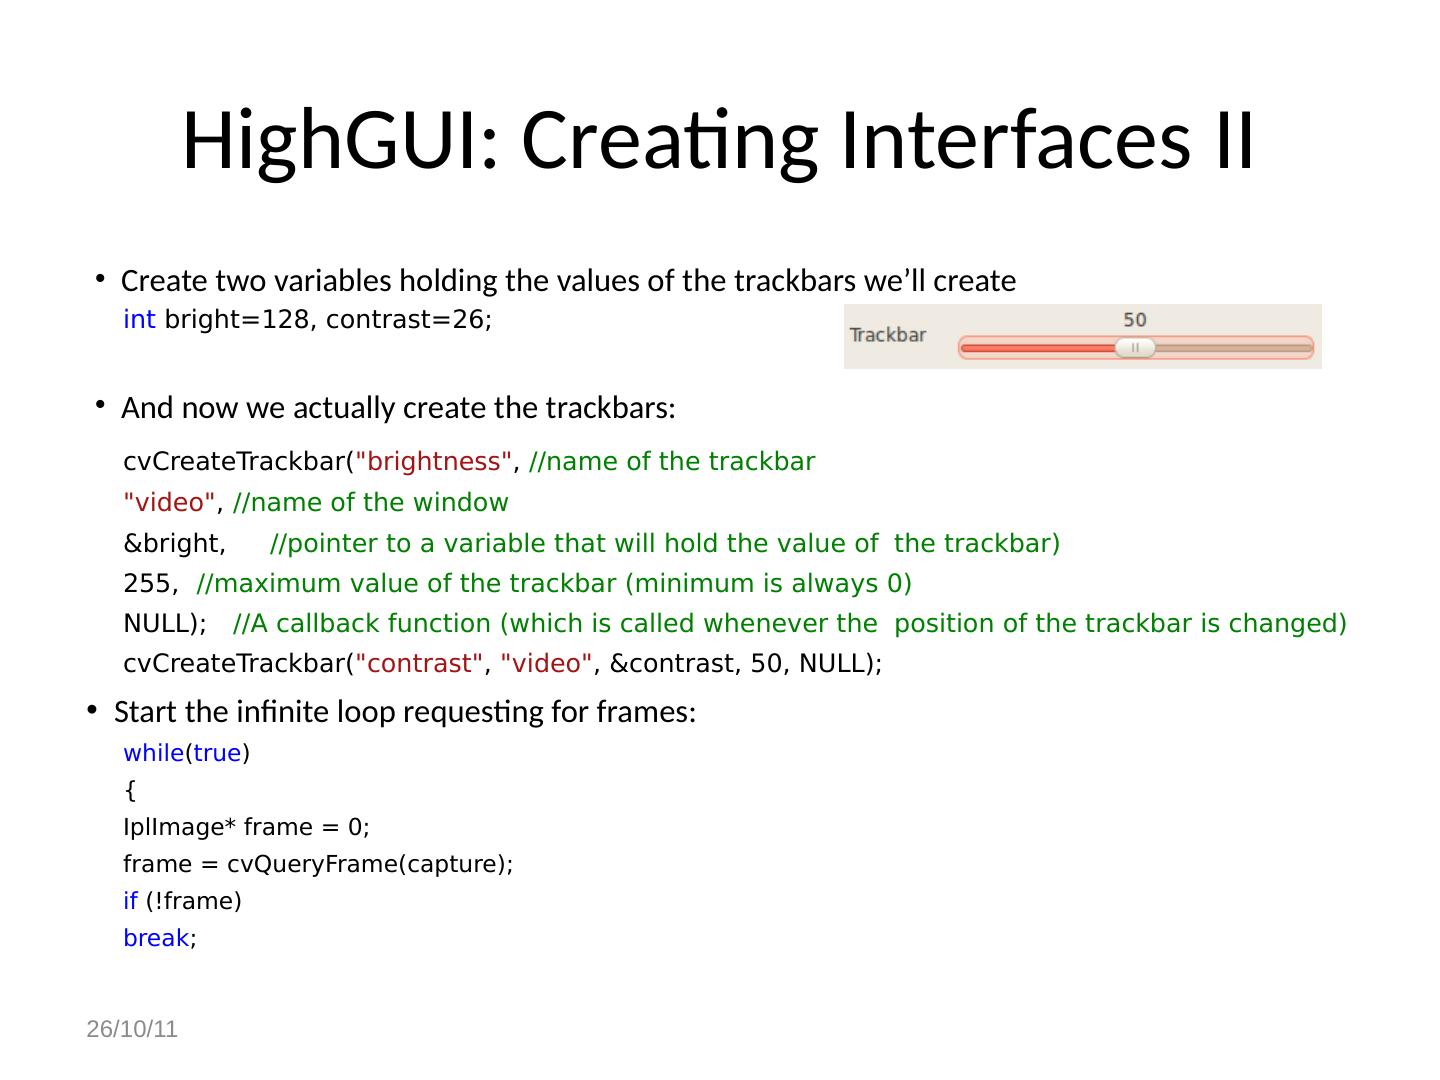
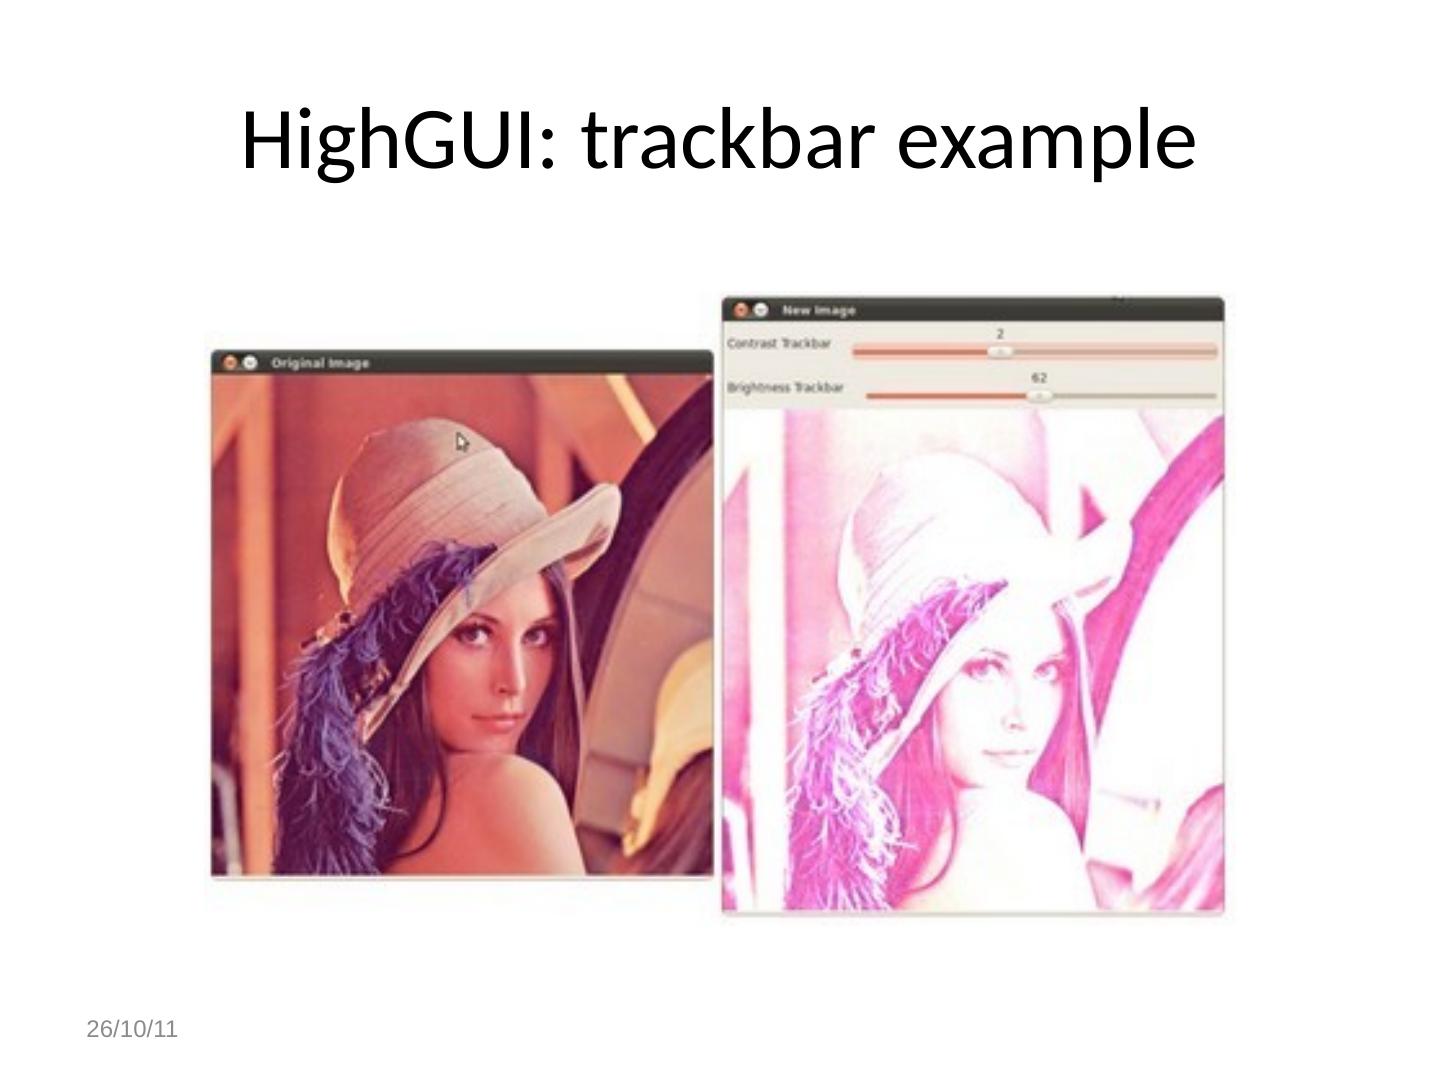
20 .HighGUI : Creating Interfaces II Create two variables holding the values of the trackbars we’ll create int bright=128, contrast=26; And now we actually create the trackbars : cvCreateTrackbar ( "brightness" , //name of the trackbar "video" , //name of the window &bright, //pointer to a variable that will hold the value of the trackbar ) 255, //maximum value of the trackbar (minimum is always 0) NULL); //A callback function (which is called whenever the position of the trackbar is changed) cvCreateTrackbar ( "contrast" , "video" , &contrast, 50, NULL); Start the infinite loop requesting for frames: while ( true ) { IplImage * frame = 0; frame = cvQueryFrame (capture); if (! frame ) break ; 26/10/11
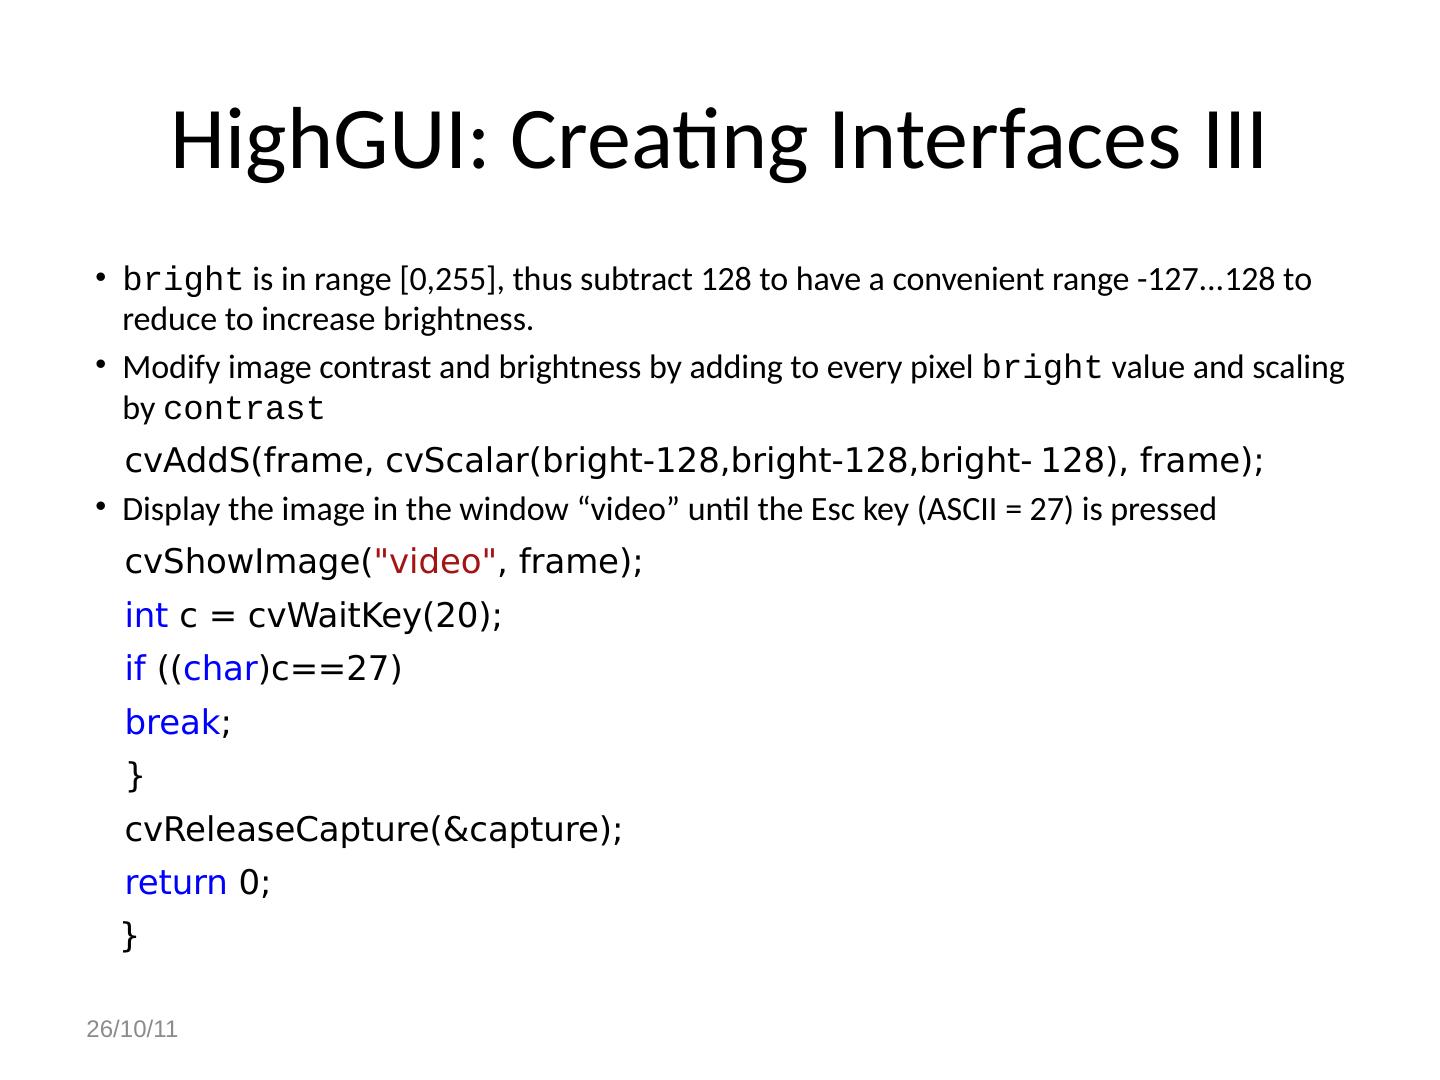
21 .HighGUI : Creating Interfaces III bright is in range [0,255], thus subtract 128 to have a convenient range -127...128 to reduce to increase brightness. Modify image contrast and brightness by adding to every pixel bright value and scaling by contrast cvAddS (frame, cvScalar (bright-128,bright-128,bright- 128), frame); Display the image in the window “video” until the Esc key (ASCII = 27) is pressed cvShowImage ( "video" , frame); int c = cvWaitKey (20); if (( char )c==27) break ; } cvReleaseCapture (&capture); return 0; } 26/10/11
22 .HighGUI : trackbar example 26/10/11
23 .OpenCV : image filtering In this tutorial you will learn how to apply diverse linear filters to smooth images using OpenCV functions such as: Blur Gaussian b lur Median blur Bilateral filter 26/10/11
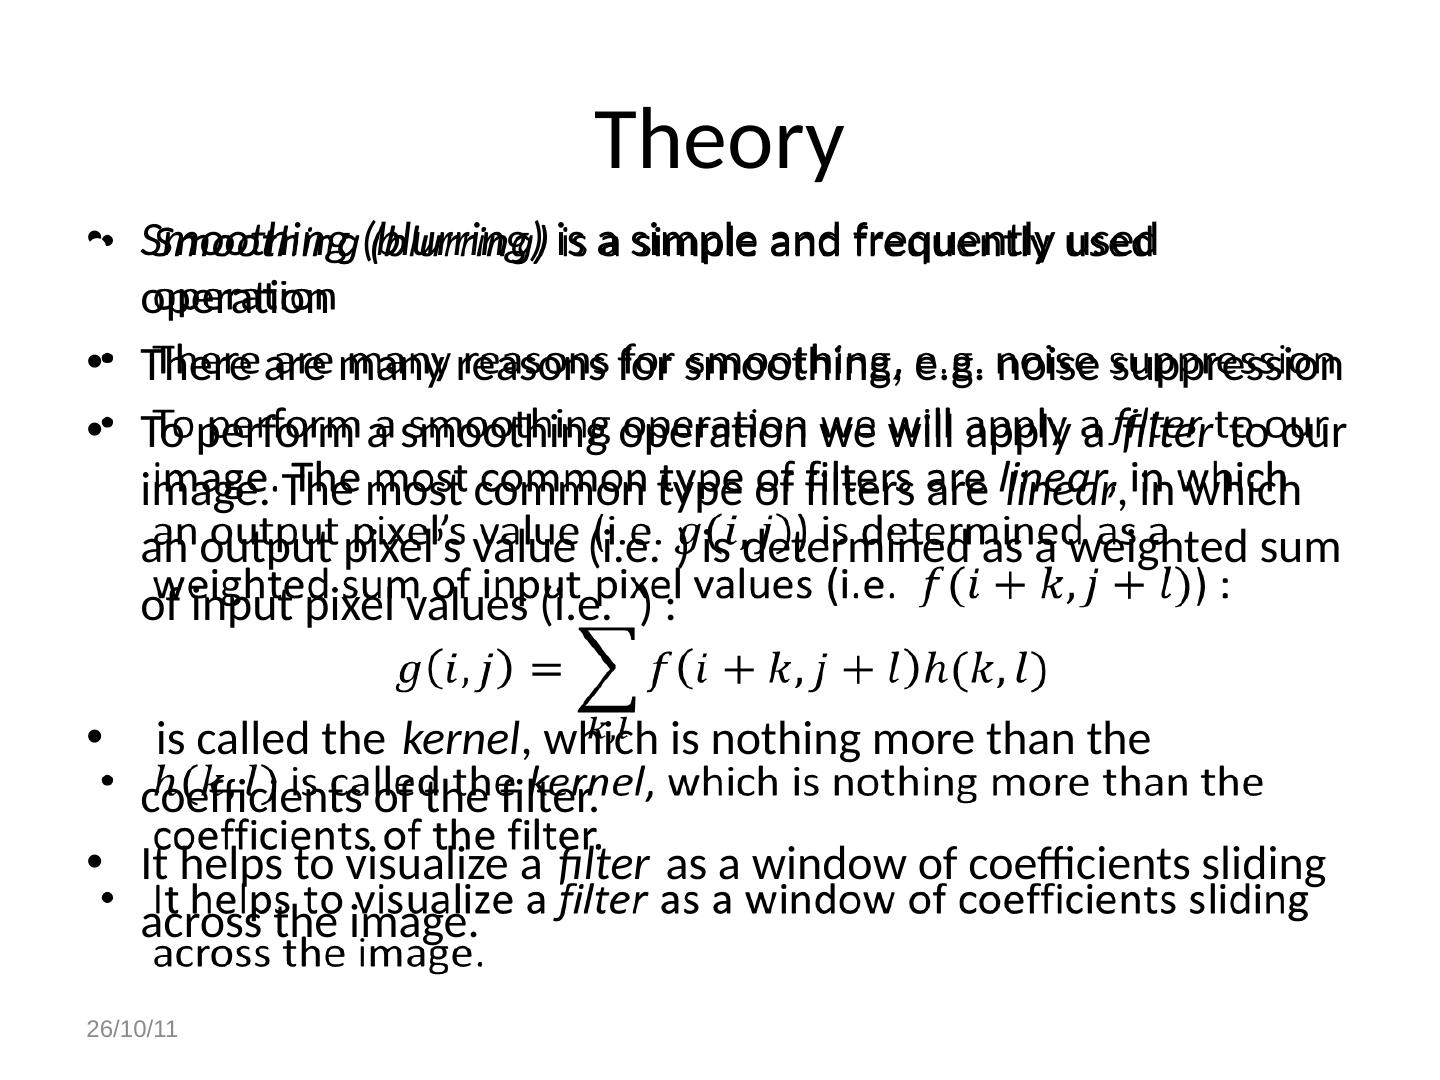
24 .Theory Smoothing (blurring) is a simple and frequently used operation There are many reasons for smoothing, e.g. noise suppression To perform a smoothing operation we will apply a filter to our image. The most common type of filters are linear , in which an output pixel’s value (i.e. ) is determined as a weighted sum of input pixel values (i.e. ) : is called the kernel , which is nothing more than the coefficients of the filter. It helps to visualize a filter as a window of coefficients sliding across the image . 26/10/11
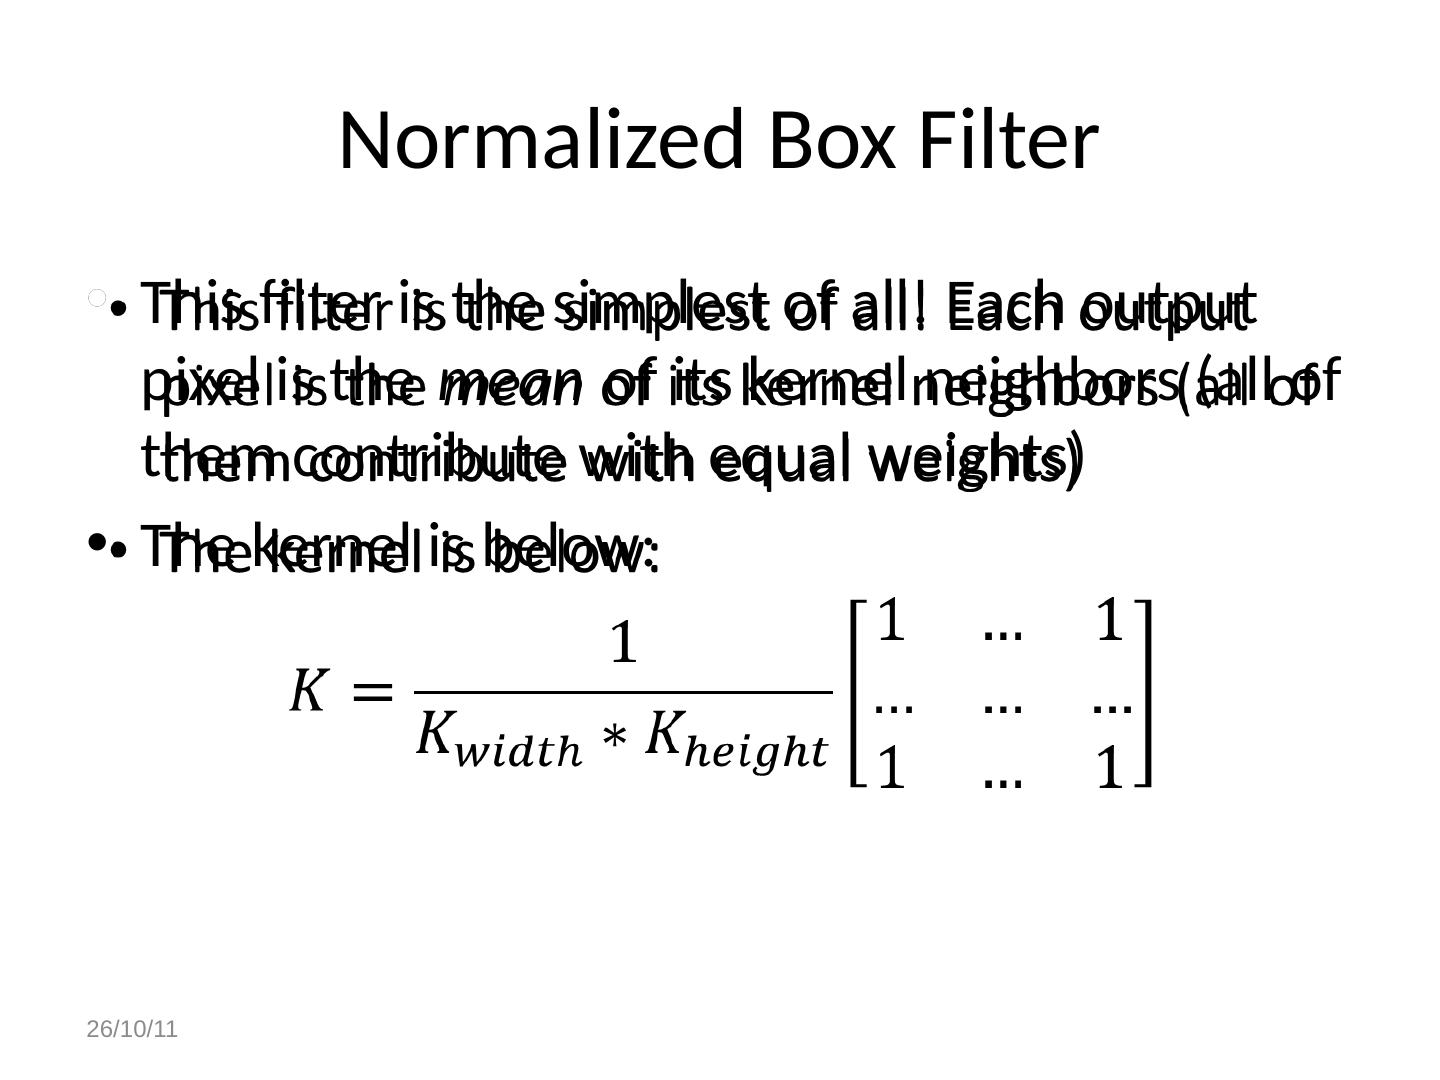
25 .Normalized Box Filter This filter is the simplest of all! Each output pixel is the mean of its kernel neighbors (all of them contribute with equal weights) The kernel is below : 26/10/11
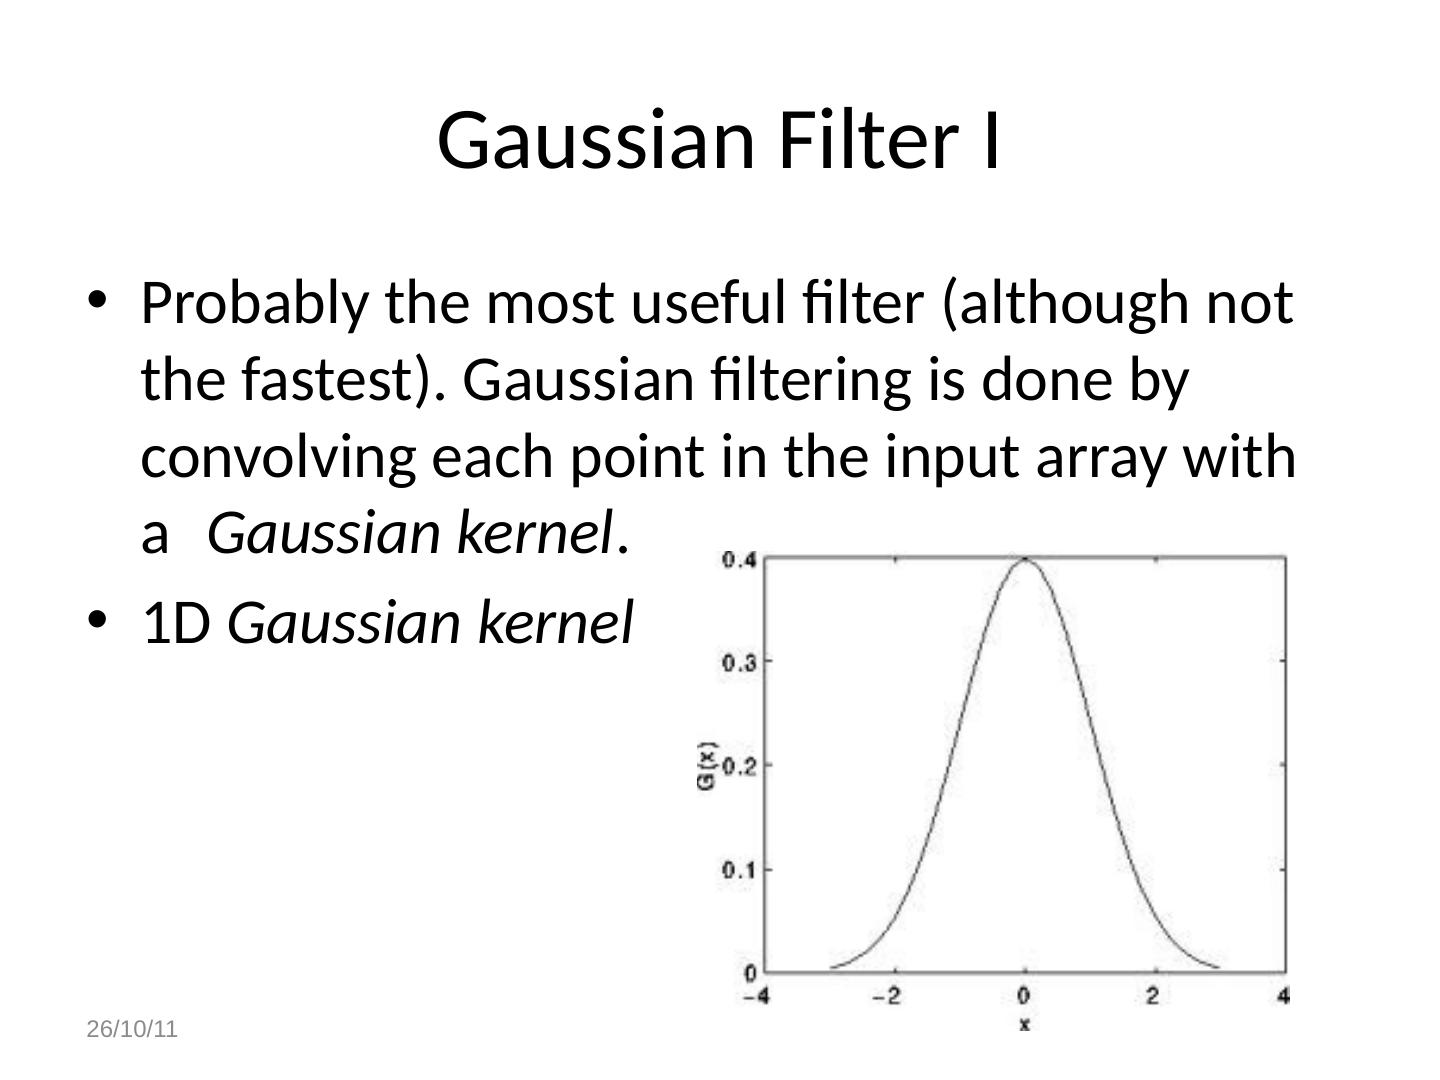
26 .Gaussian Filter I Probably the most useful filter (although not the fastest). Gaussian filtering is done by convolving each point in the input array with a Gaussian kernel . 1D Gaussian kernel 26/10/11
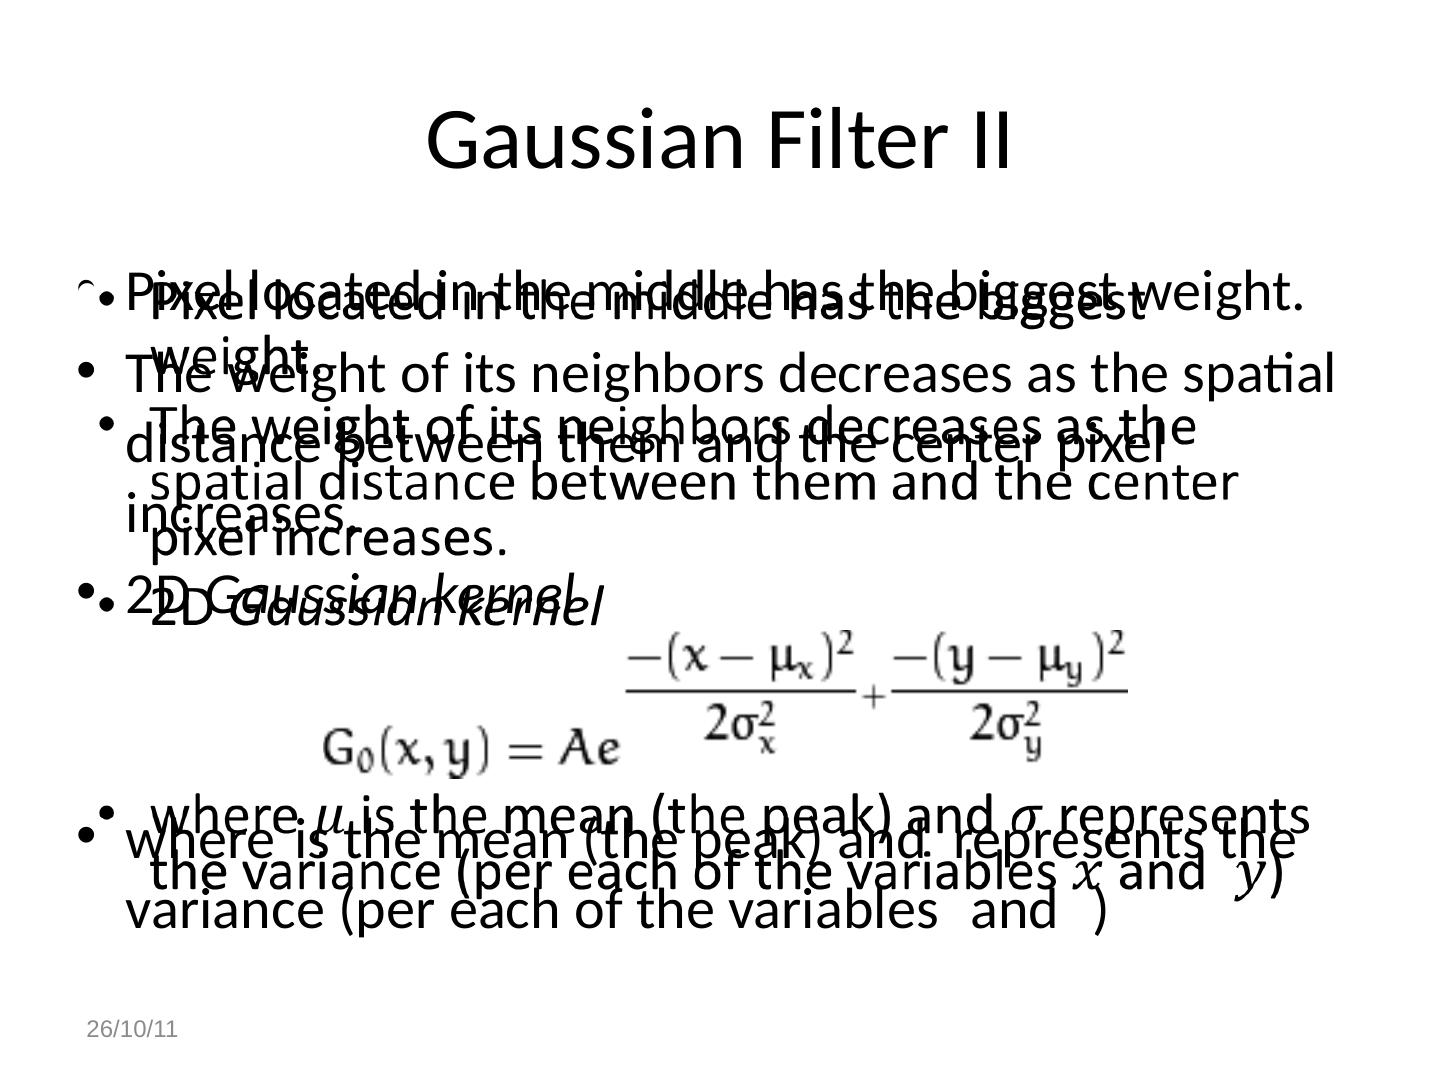
27 .Gaussian Filter I I Pixel located in the middle has the biggest weight. The weight of its neighbors decreases as the spatial distance between them and the center pixel increases. 2D Gaussian kernel where is the mean (the peak) and represents the variance (per each of the variables and ) 26/10/11
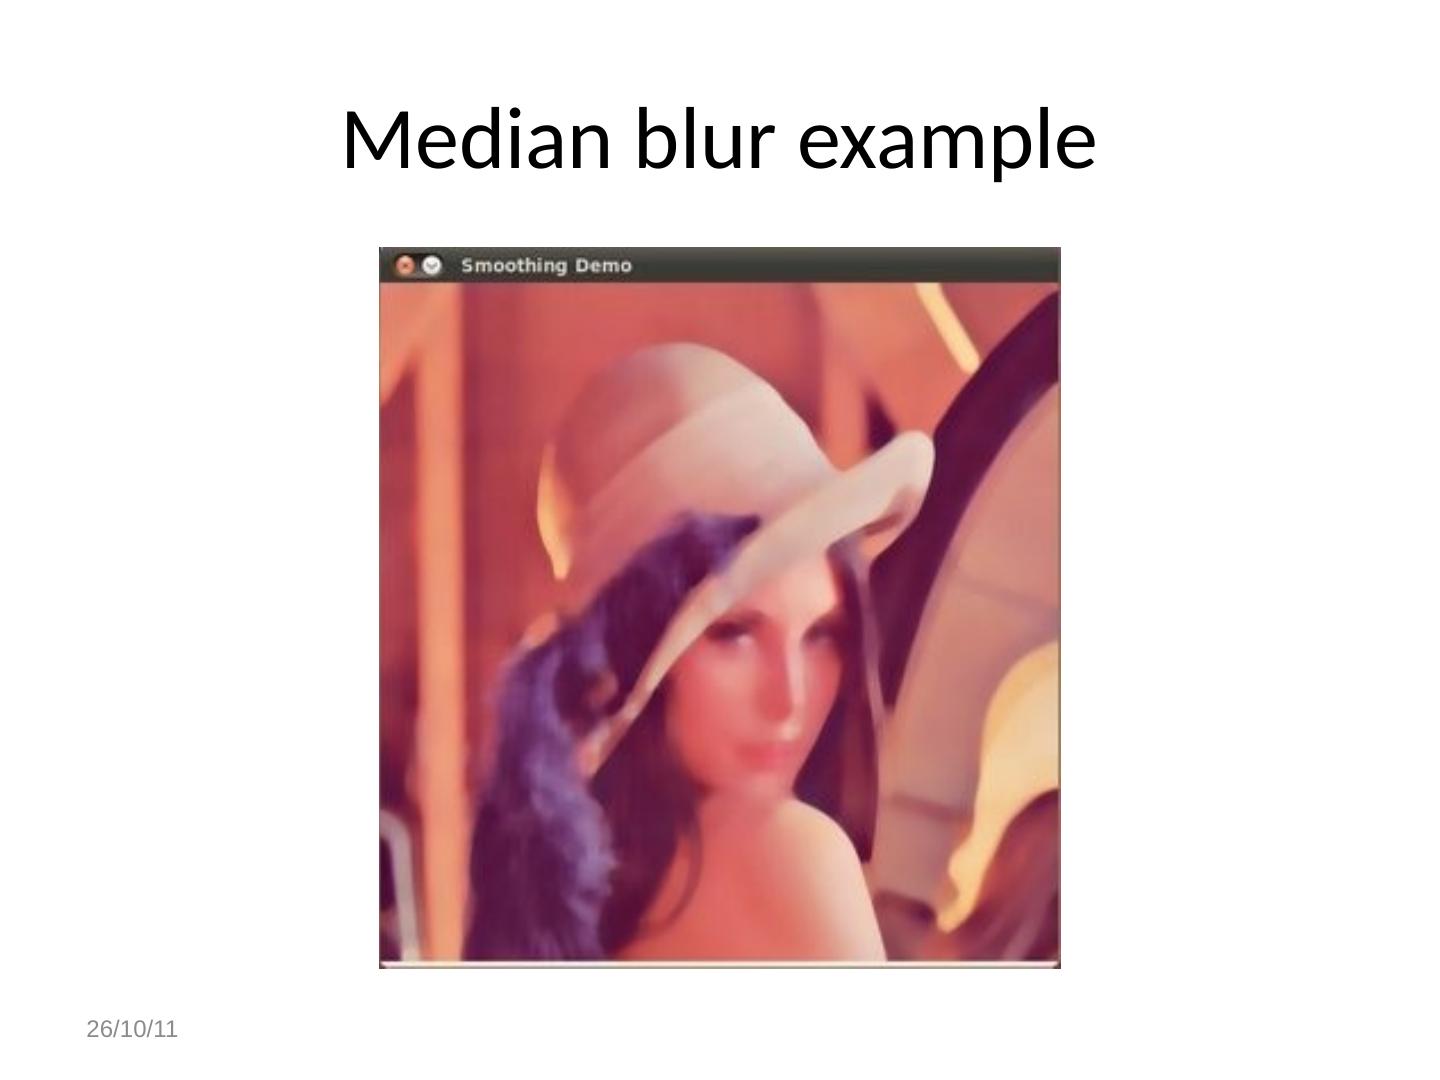
28 .Median filter The median filter run through each element of the signal (in this case the image) and replace each pixel with the median of its neighboring pixels (located in a square neighborhood around the evaluated pixel ). The median of a finite list of numbers can be found by arranging all the observations from lowest value to highest value and picking the middle one. 26/10/11
29 .Bilateral Filter Considered filters main goal were to smooth an input image. However, sometimes the filters do not only dissolve the noise, but also smooth away the edges . To avoid this (at certain extent at least), we can use a bilateral filter. In an analogous way as the Gaussian filter, the bilateral filter also considers the neighboring pixels with weights assigned to each of them. These weights have two components T he first component is the same weighting used by the Gaussian filter The second component takes into account the difference in intensity between the neighboring pixels and the evaluated one. 26/10/11
